My Kiln
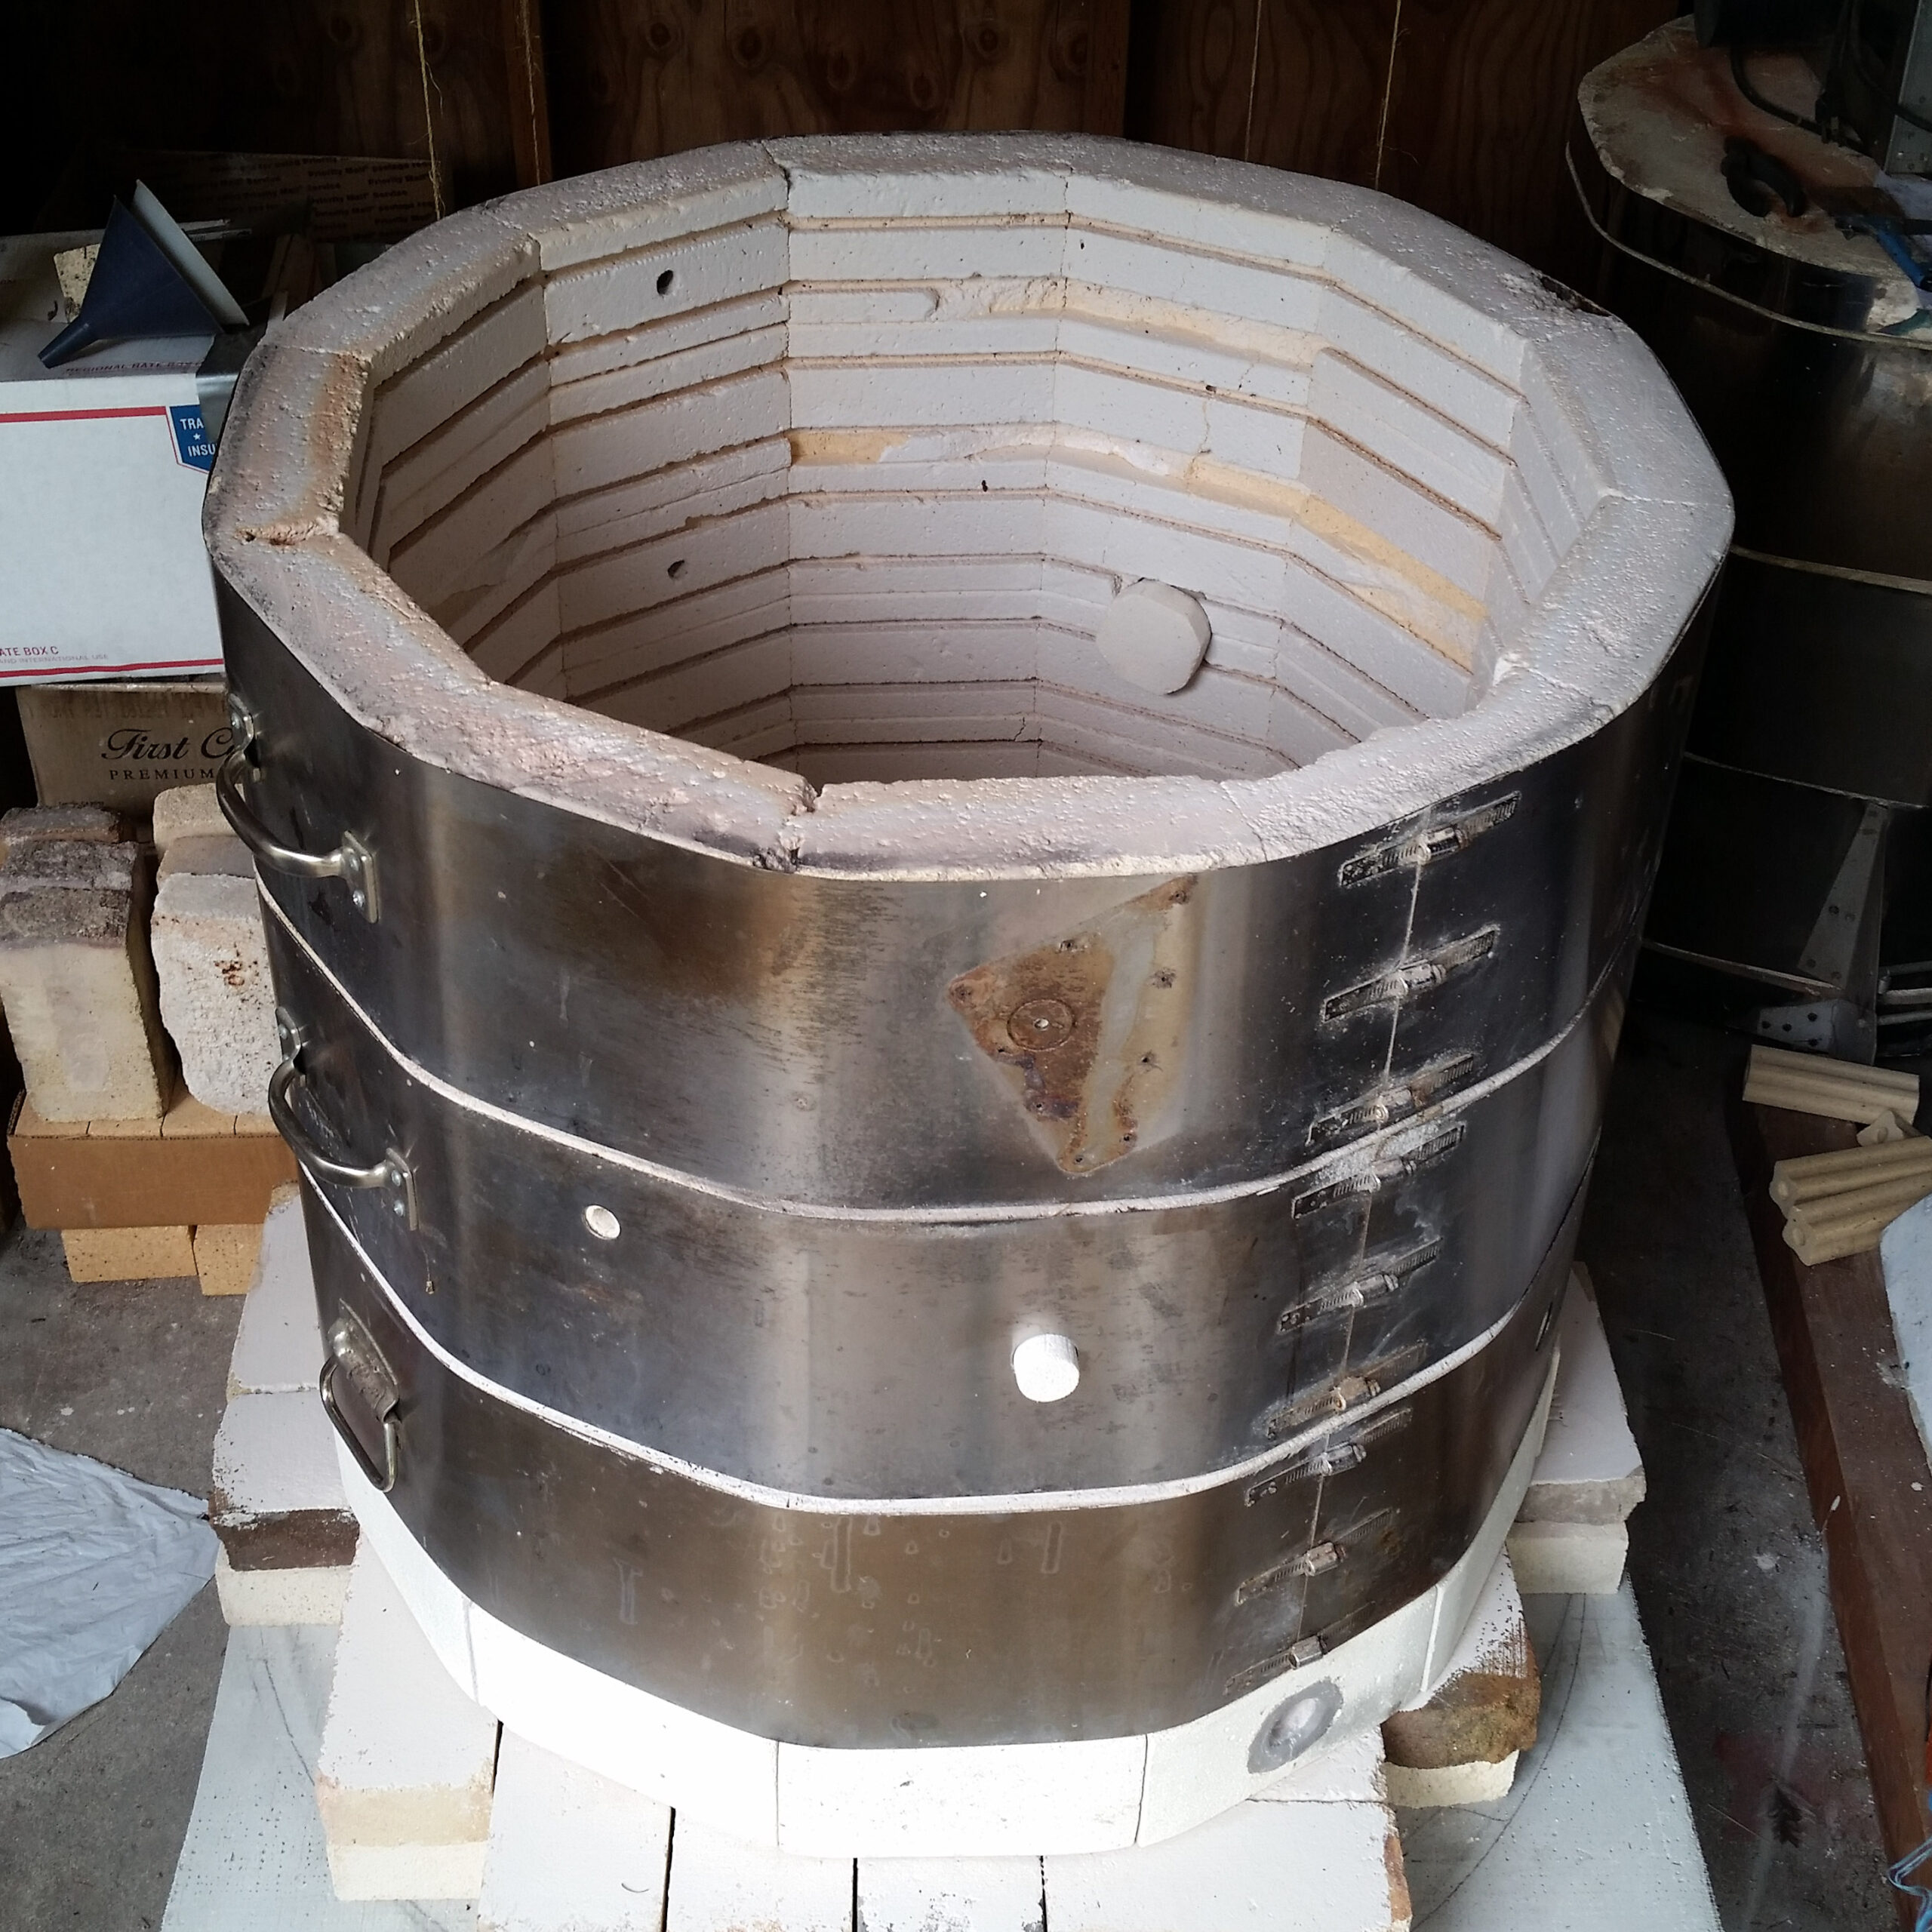
In 2019, I finished building my own studio kiln. It’s converted from an old electric kiln body, and it’s a downdraft that fires on two propane-fueled Venturi burners. I fire to cone 10 (~2350 °F) in reduction atmosphere over about eight hours, and add soda ash dissolved in water with a garden sprayer. In the years since, I’ve fired it every few months and changed the schedule, burner configuration, insulation, reduction, soda quantity, and shelf maintenance trying to get everything right. Of course, it never will be… but I’ve learned a lot along the way, with help from so many people, and I wanted to share my process, especially for anyone who wants to build their own.
I do sell firing space for $30 per half foot, but availability is pretty limited and irregular. Still, if you’re interested and near Whidbey, send an email to clovytpottery@gmail.com with ‘soda firing’ in the subject line.
Backstory
This particular body came to me with history: I was actually its third owner. It was converted to a gas kiln by Oak Harbor sculptor Jerry Pike, who generously donated it to the Zakin Apprenticeship. It was modified according to the Bruce Bowers method, an updraft kiln with its burner ports angled clockwise, a 40-gallon propane tank, and a short chimney built on top of its lid. However, its first firing didn’t go smoothly. Halfway to temperature, the propane lines iced up and stalled. Then the lid, weakened by being pierced, collapsed under the weight of the chimney. After this, Cook on Clay kindly passed it on to me. I needed more information to make the jump from firing brick built soda kilns to making my own conversion kiln work. Fortunately, I was able to take a workshop on firing a converted soda kiln from Damian Grava. What I learned there, synthesized with my soda firing experience, helped me draw up a new kiln design tailored to my needs. It would be a downdraft, with a hard firebrick floor and chimney, which let me use the intact floor to replace the broken lid. These additions would take a lot of time and bricks, but donations from kiln dismantlings at Cook on Clay and Pottery Northwest gave me a good supply of used hard brick, soft brick, and kiln fiber to work with.
The Floor
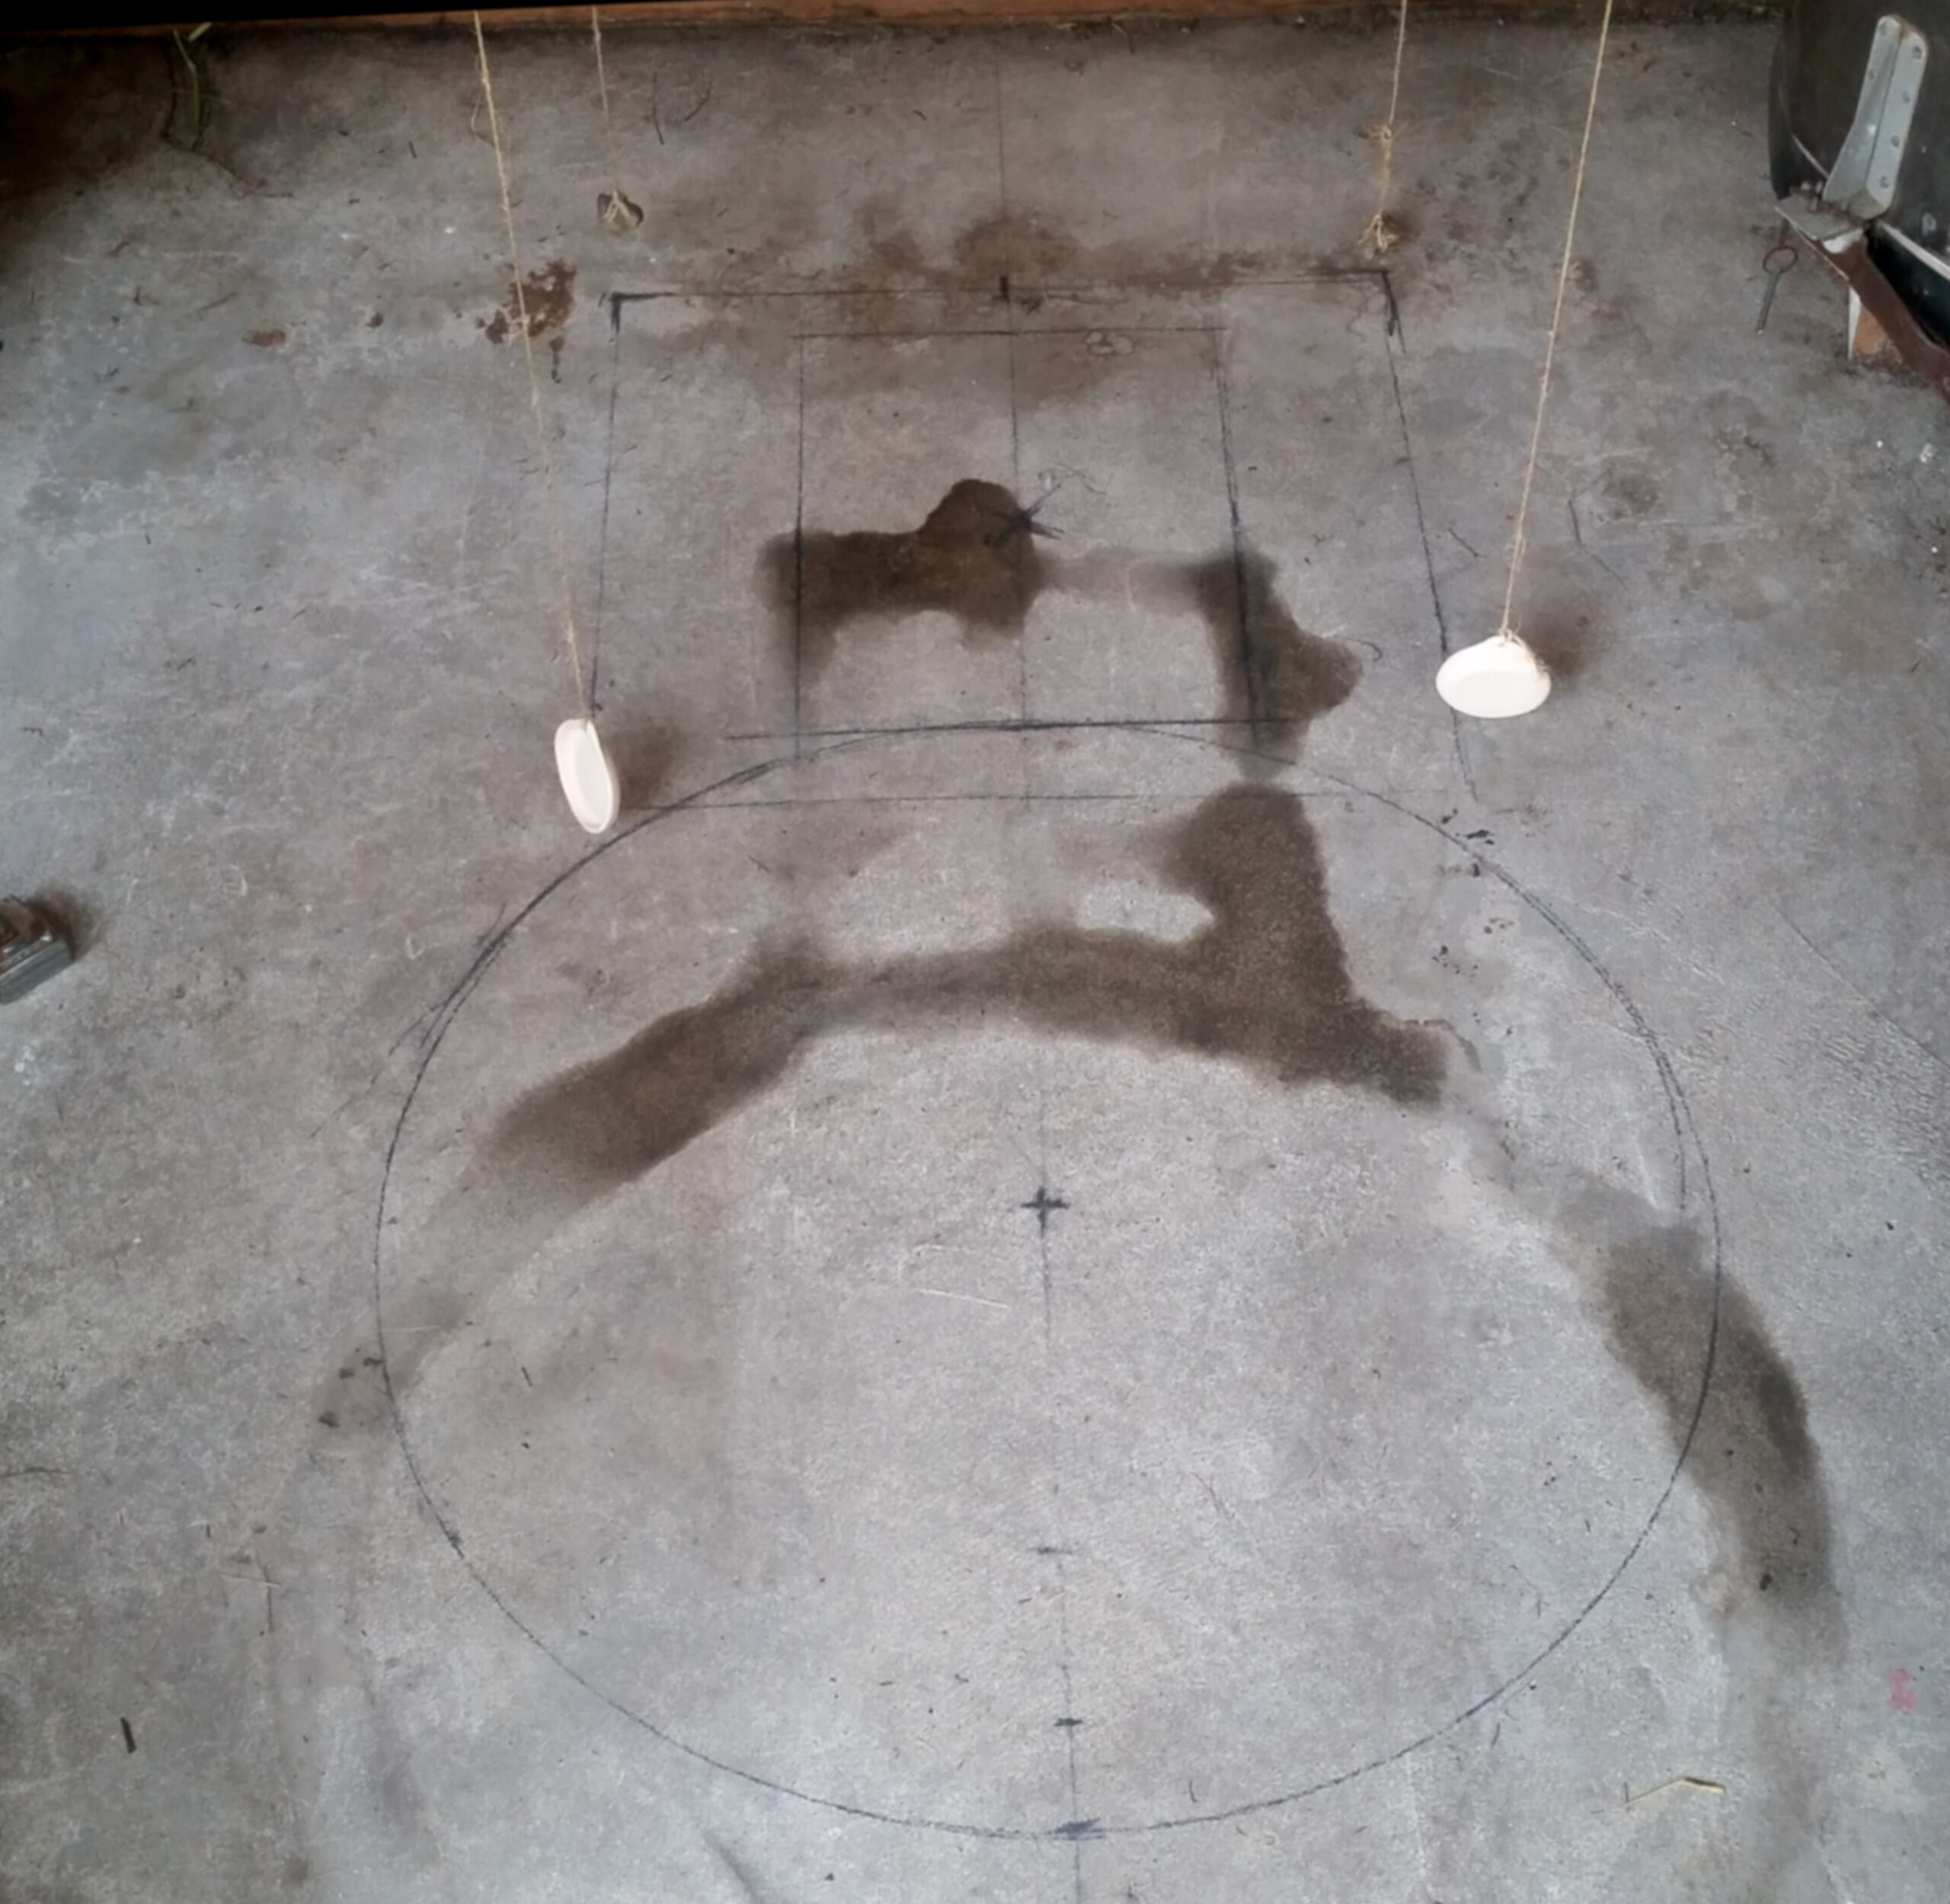
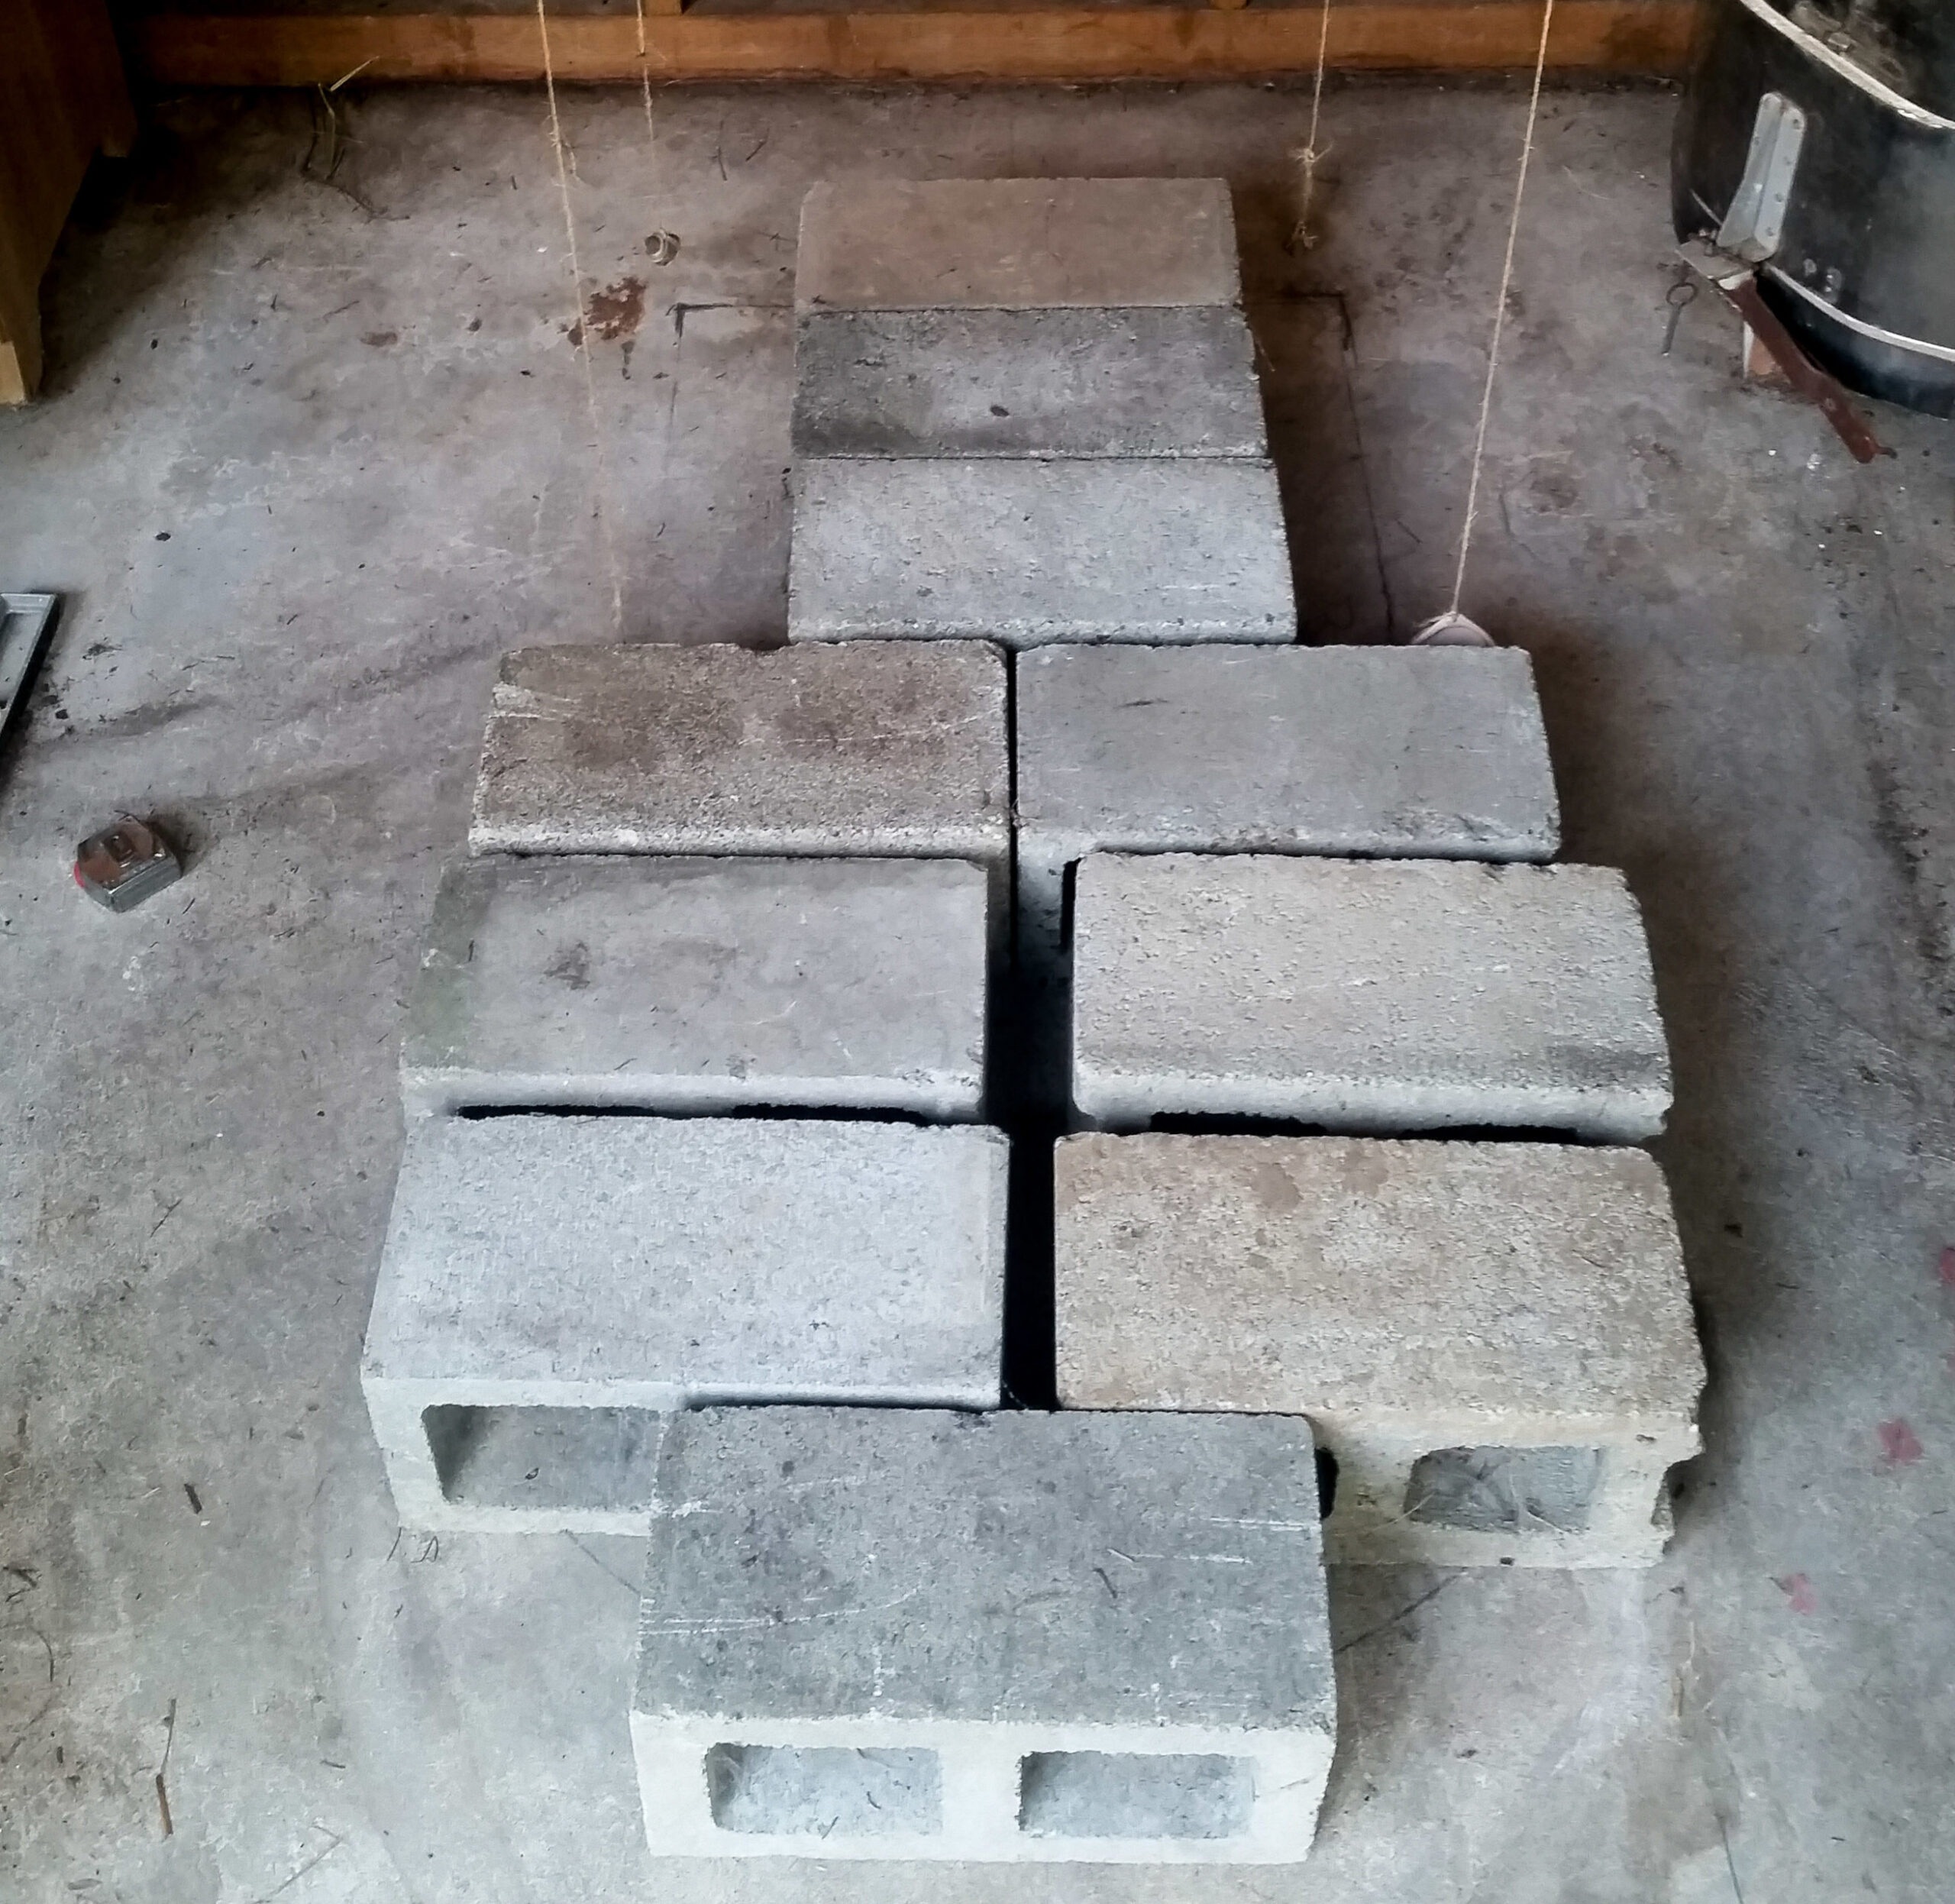
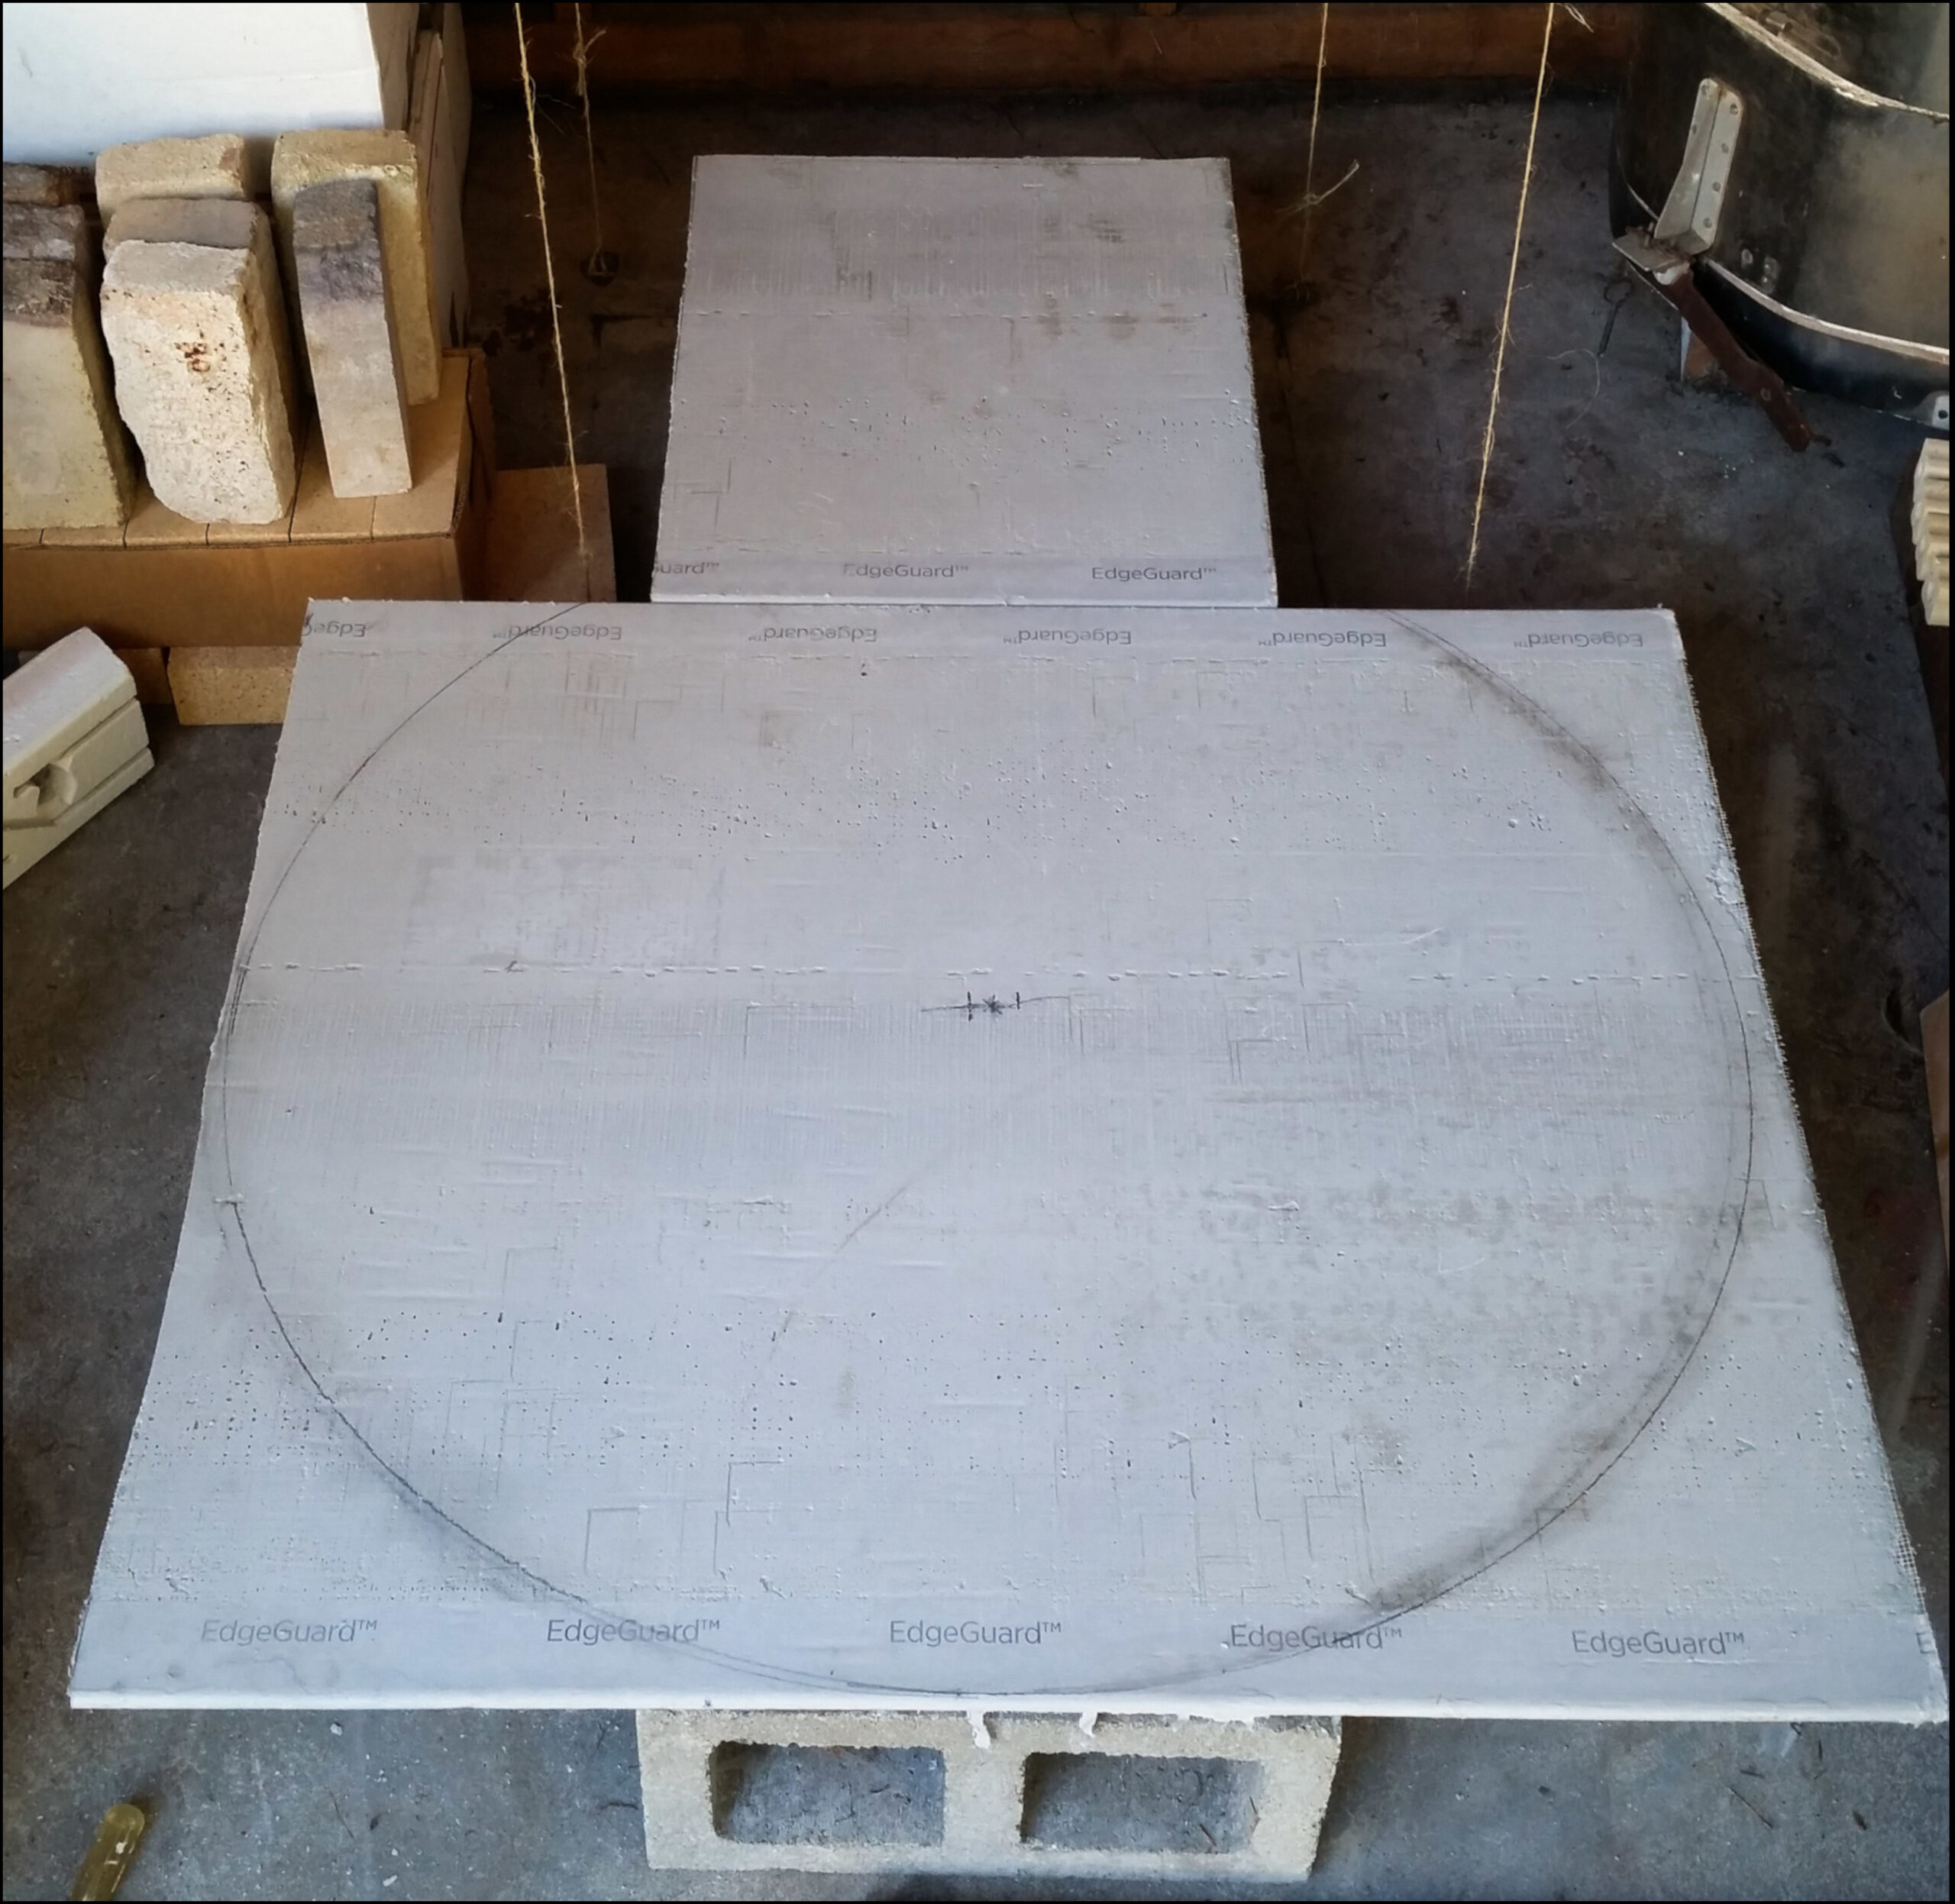
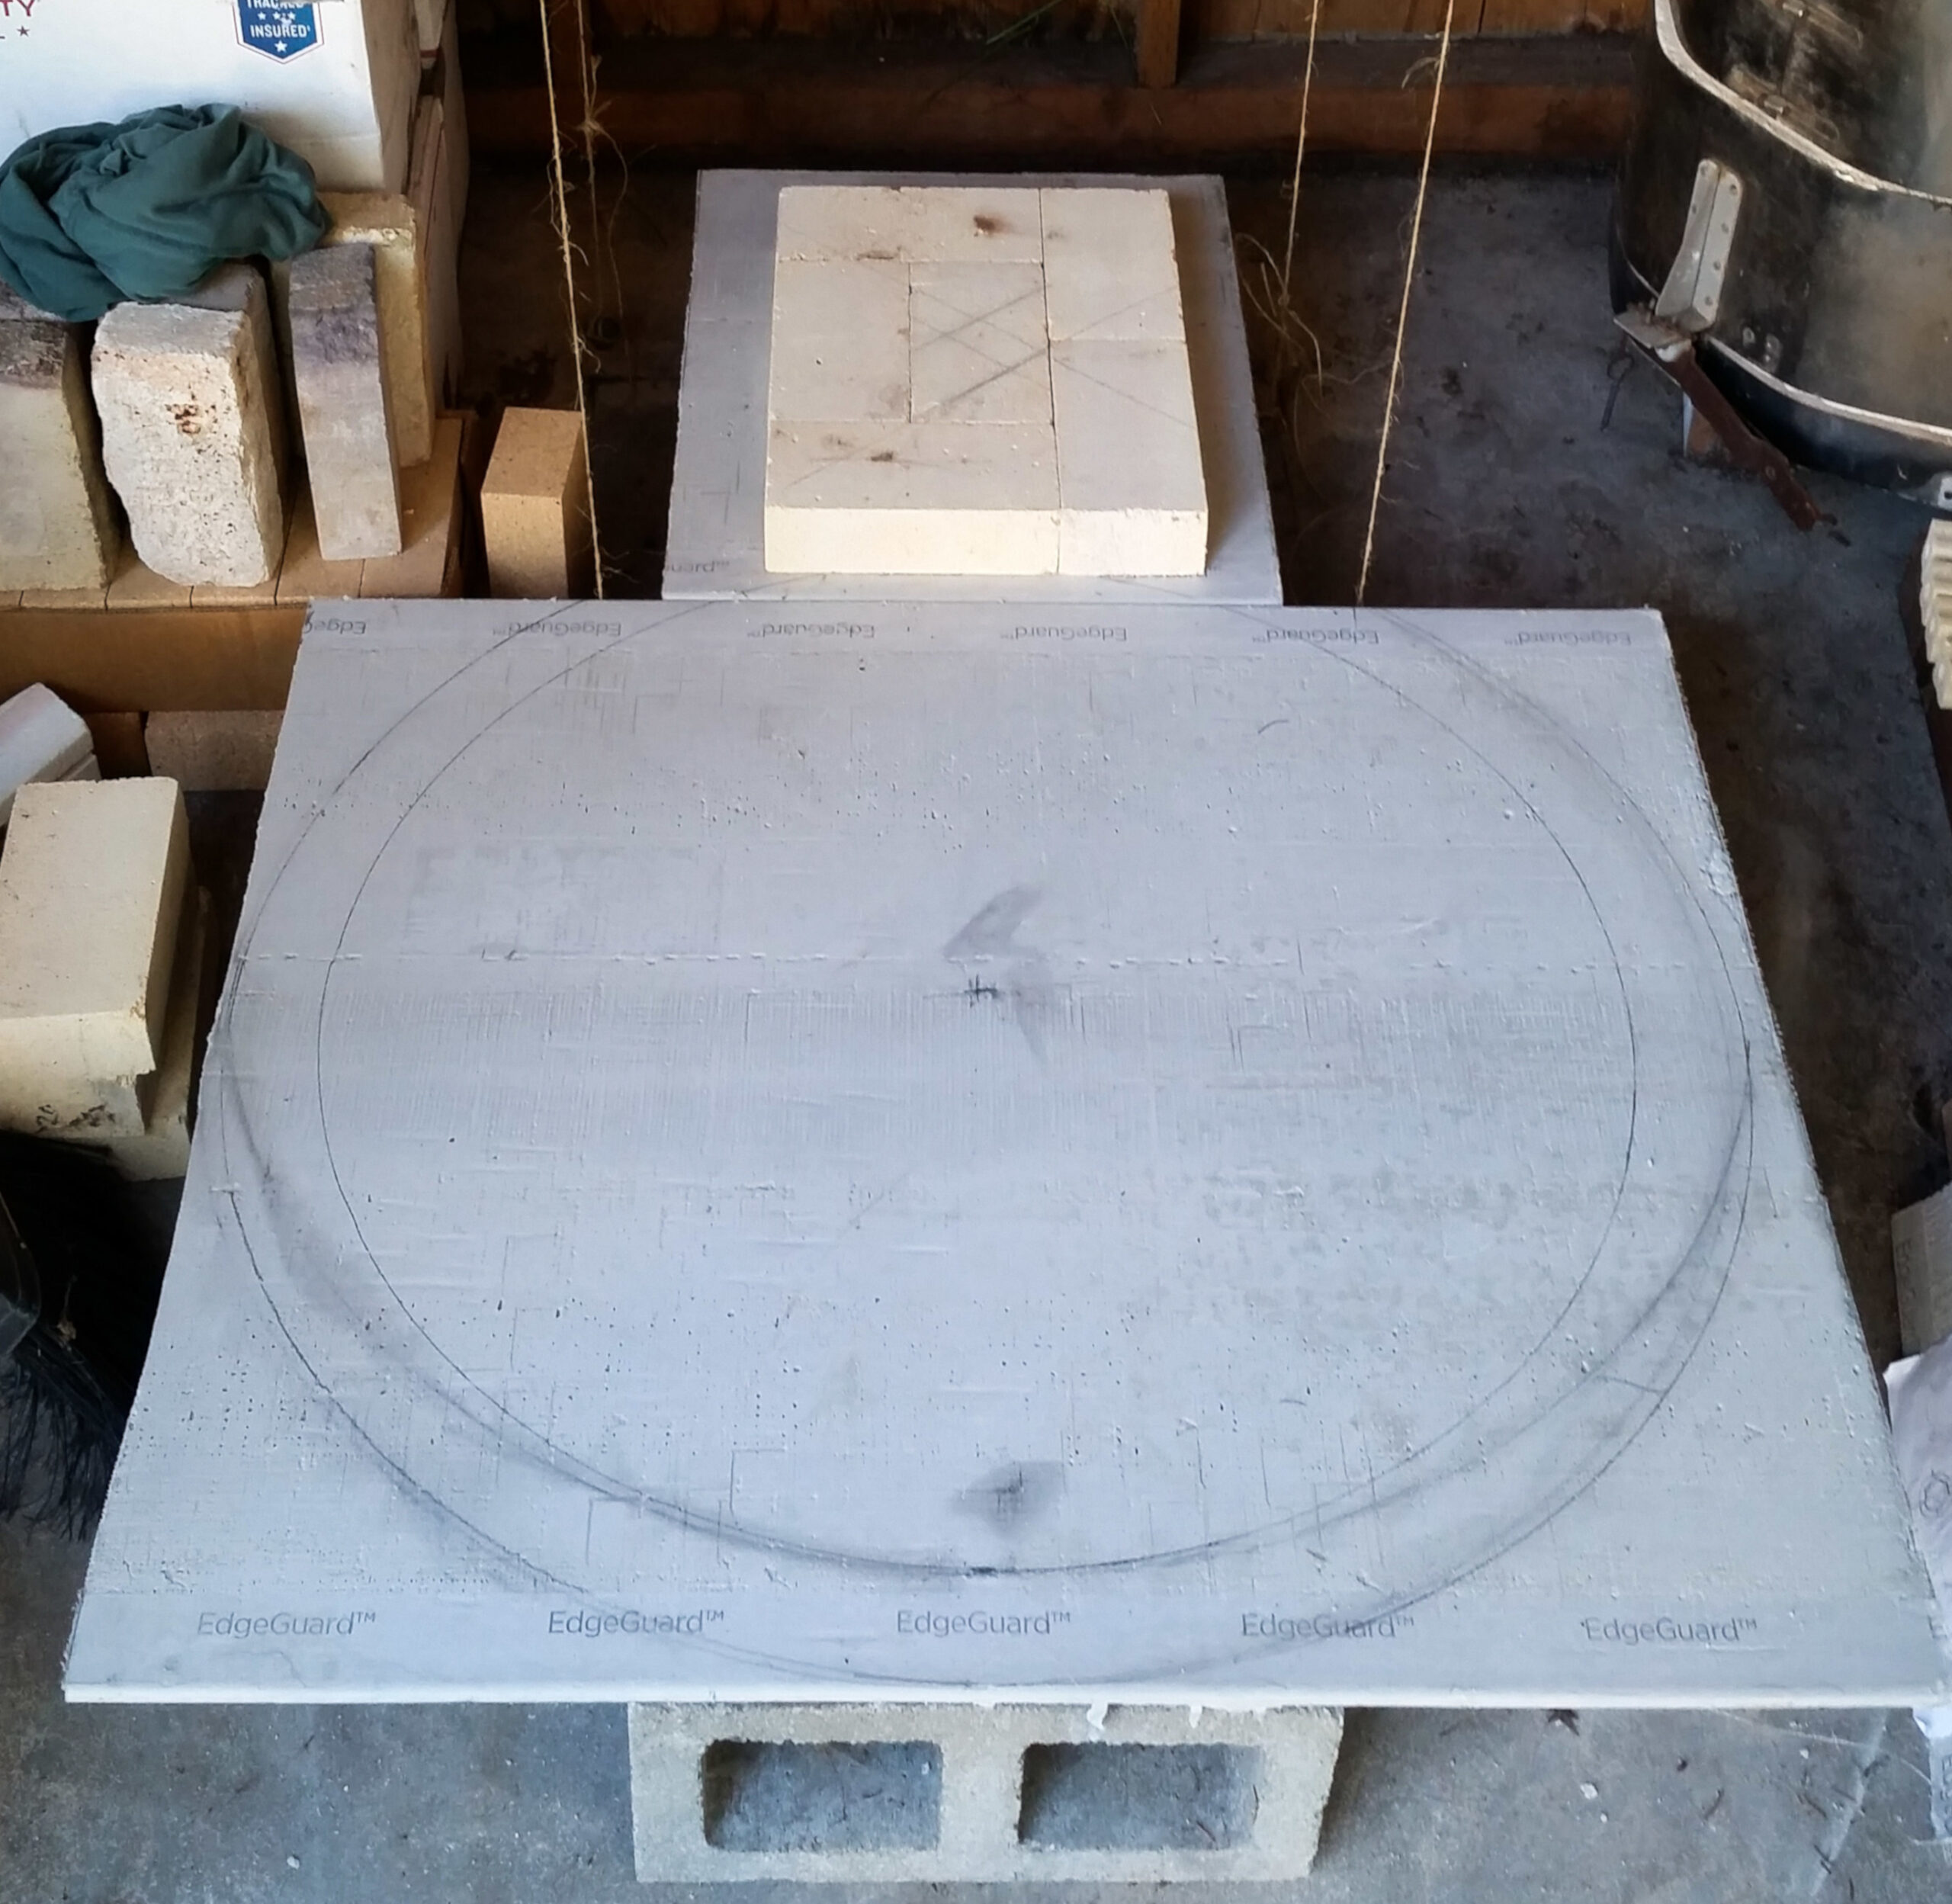
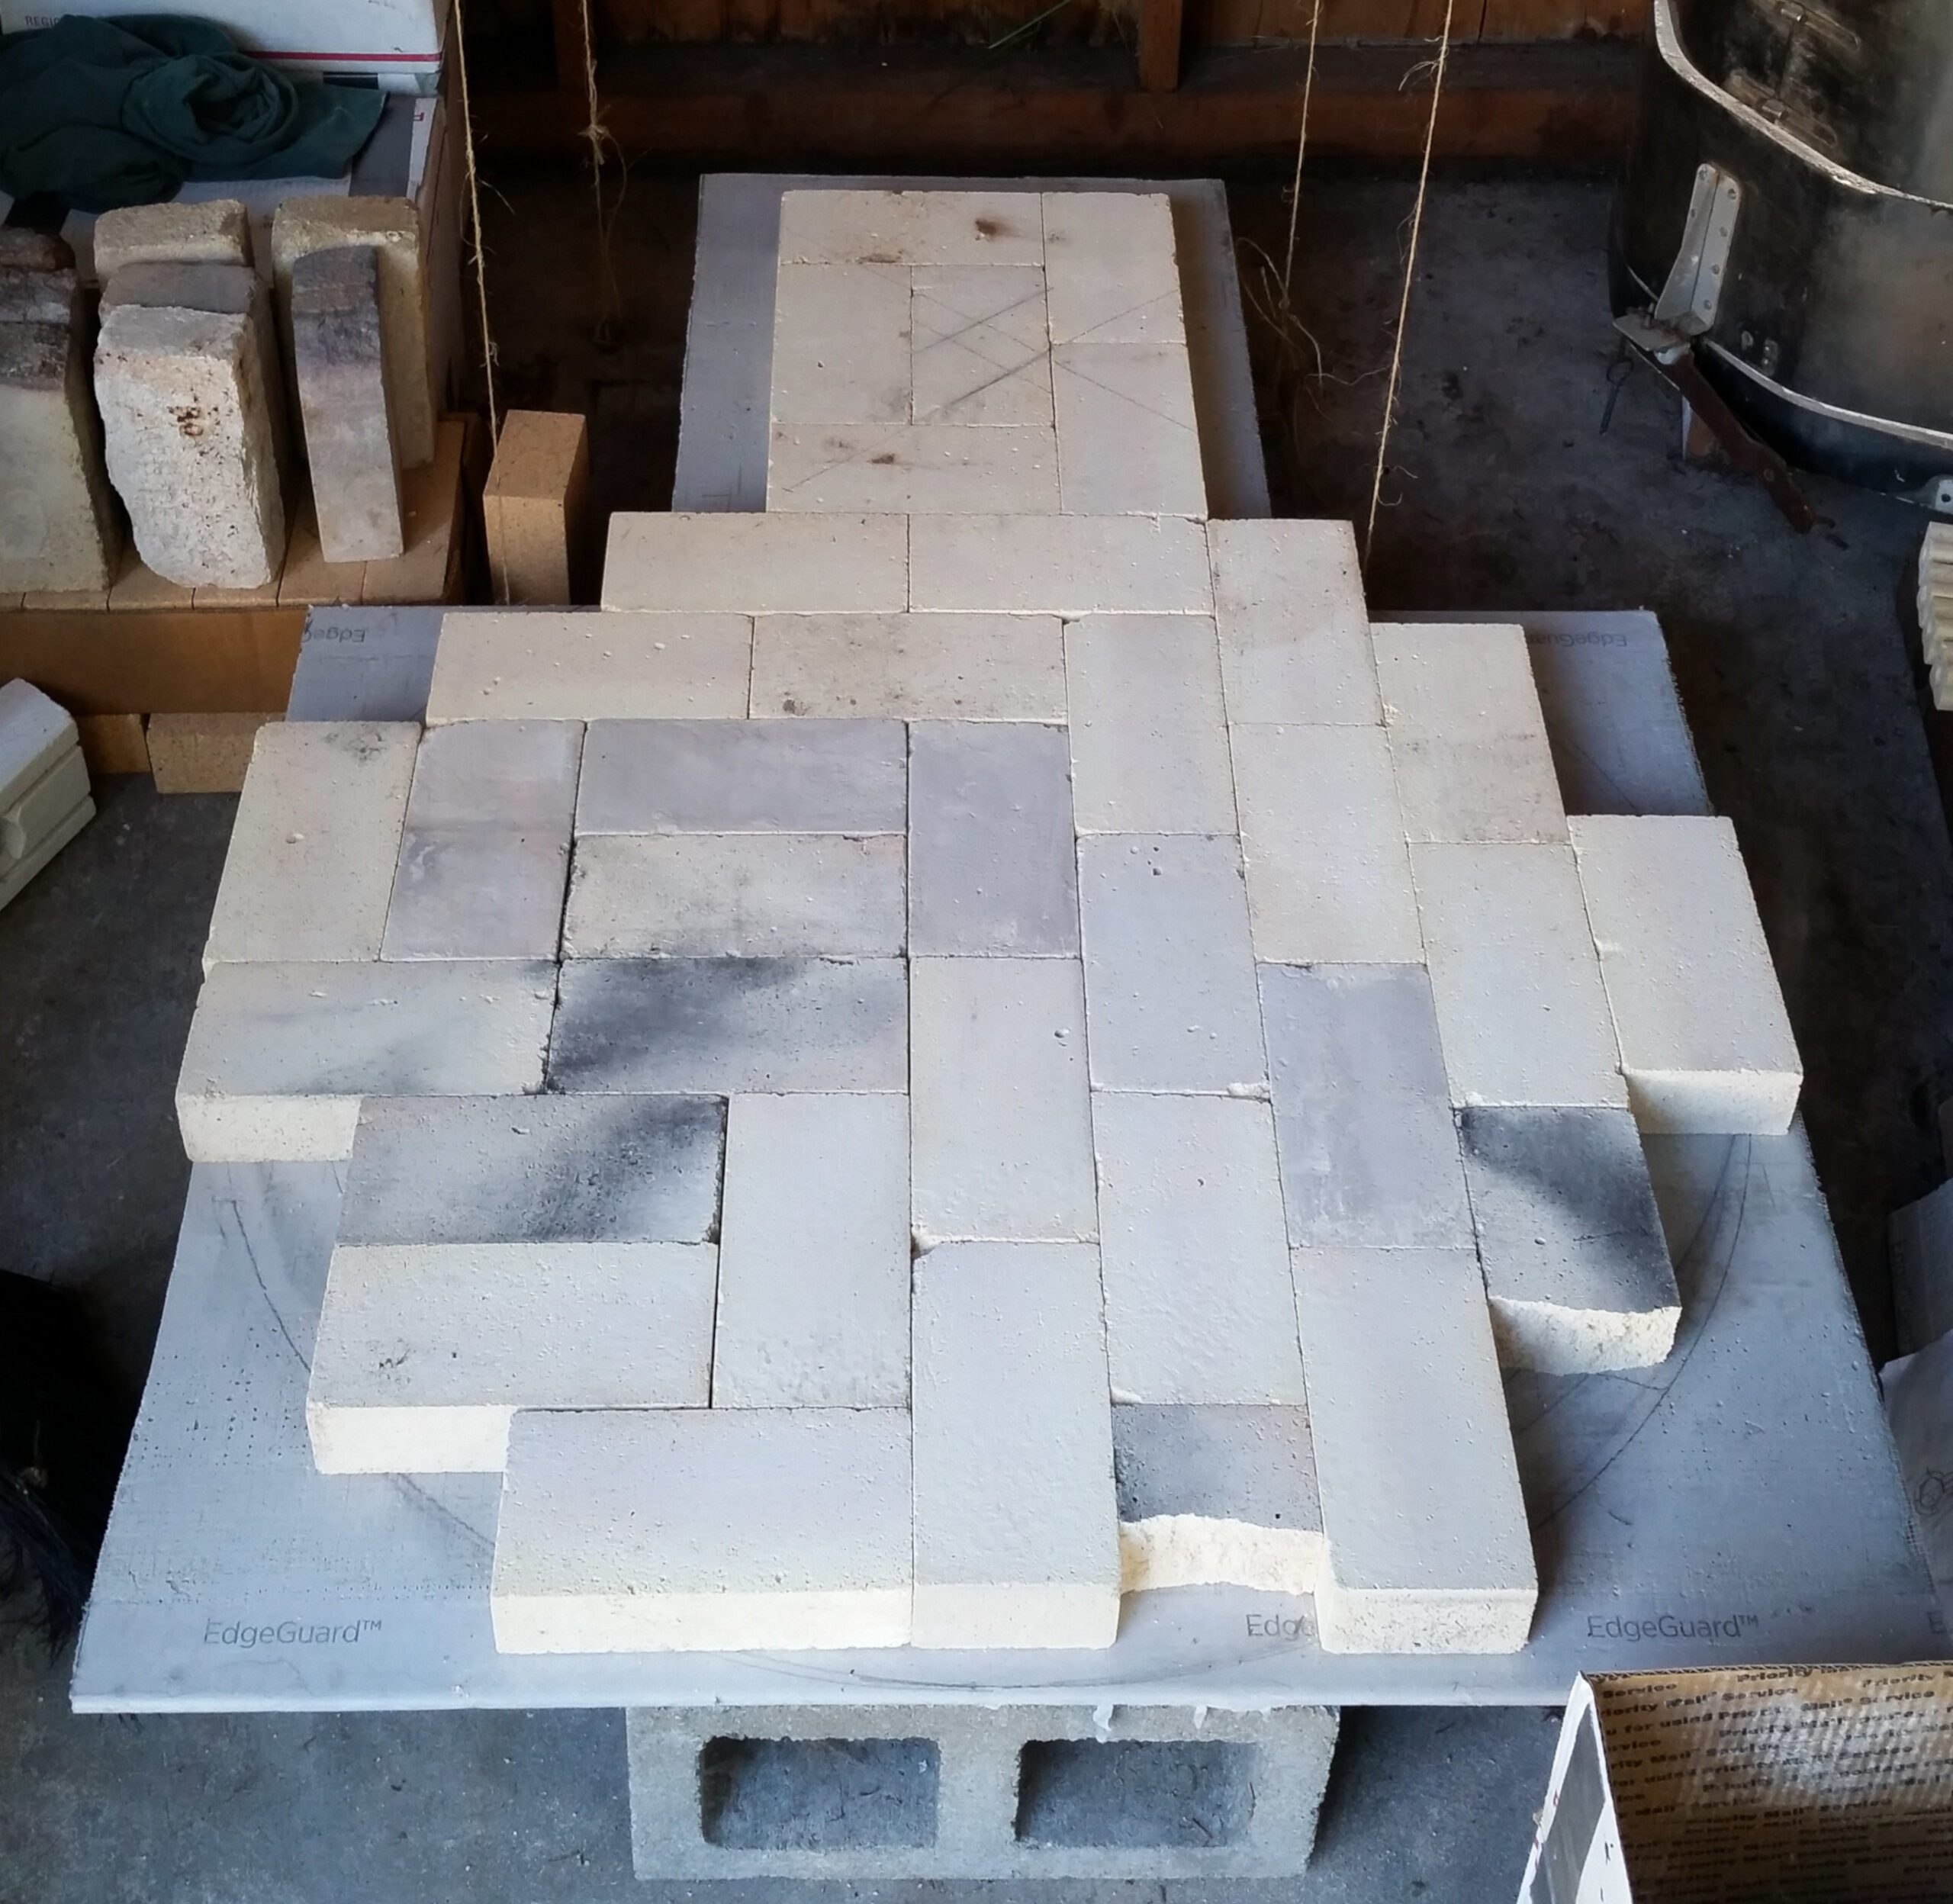
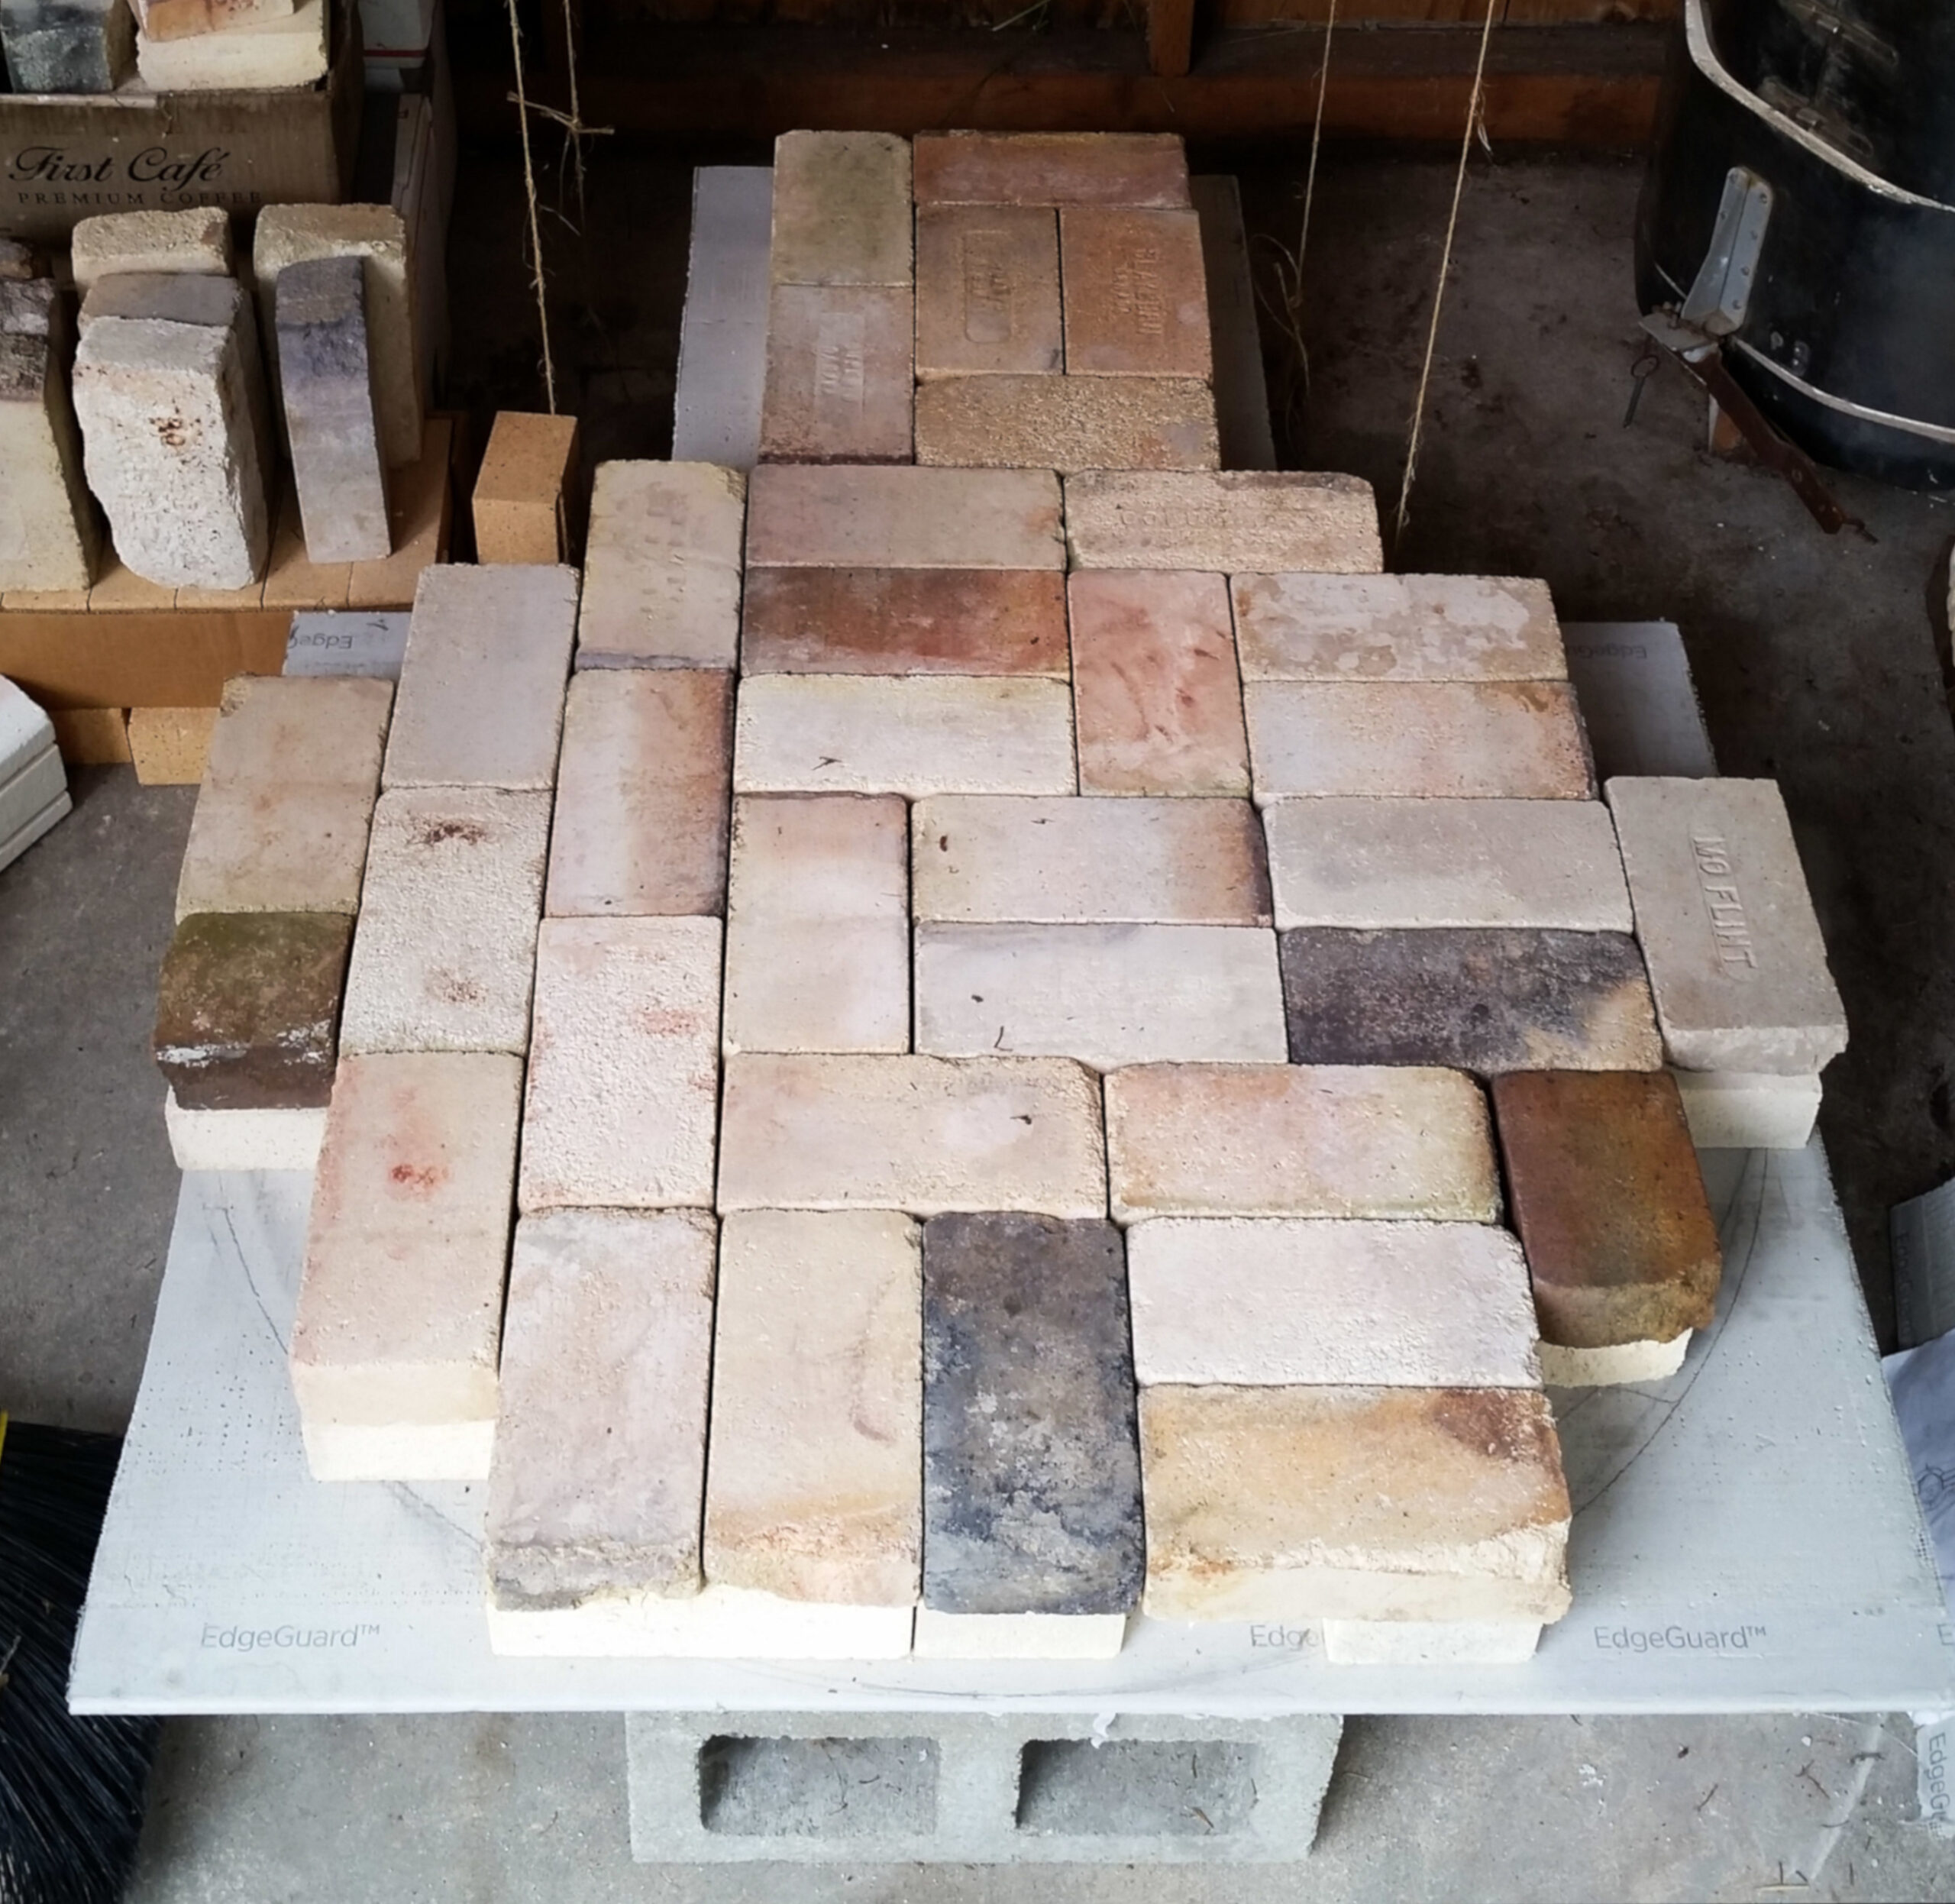
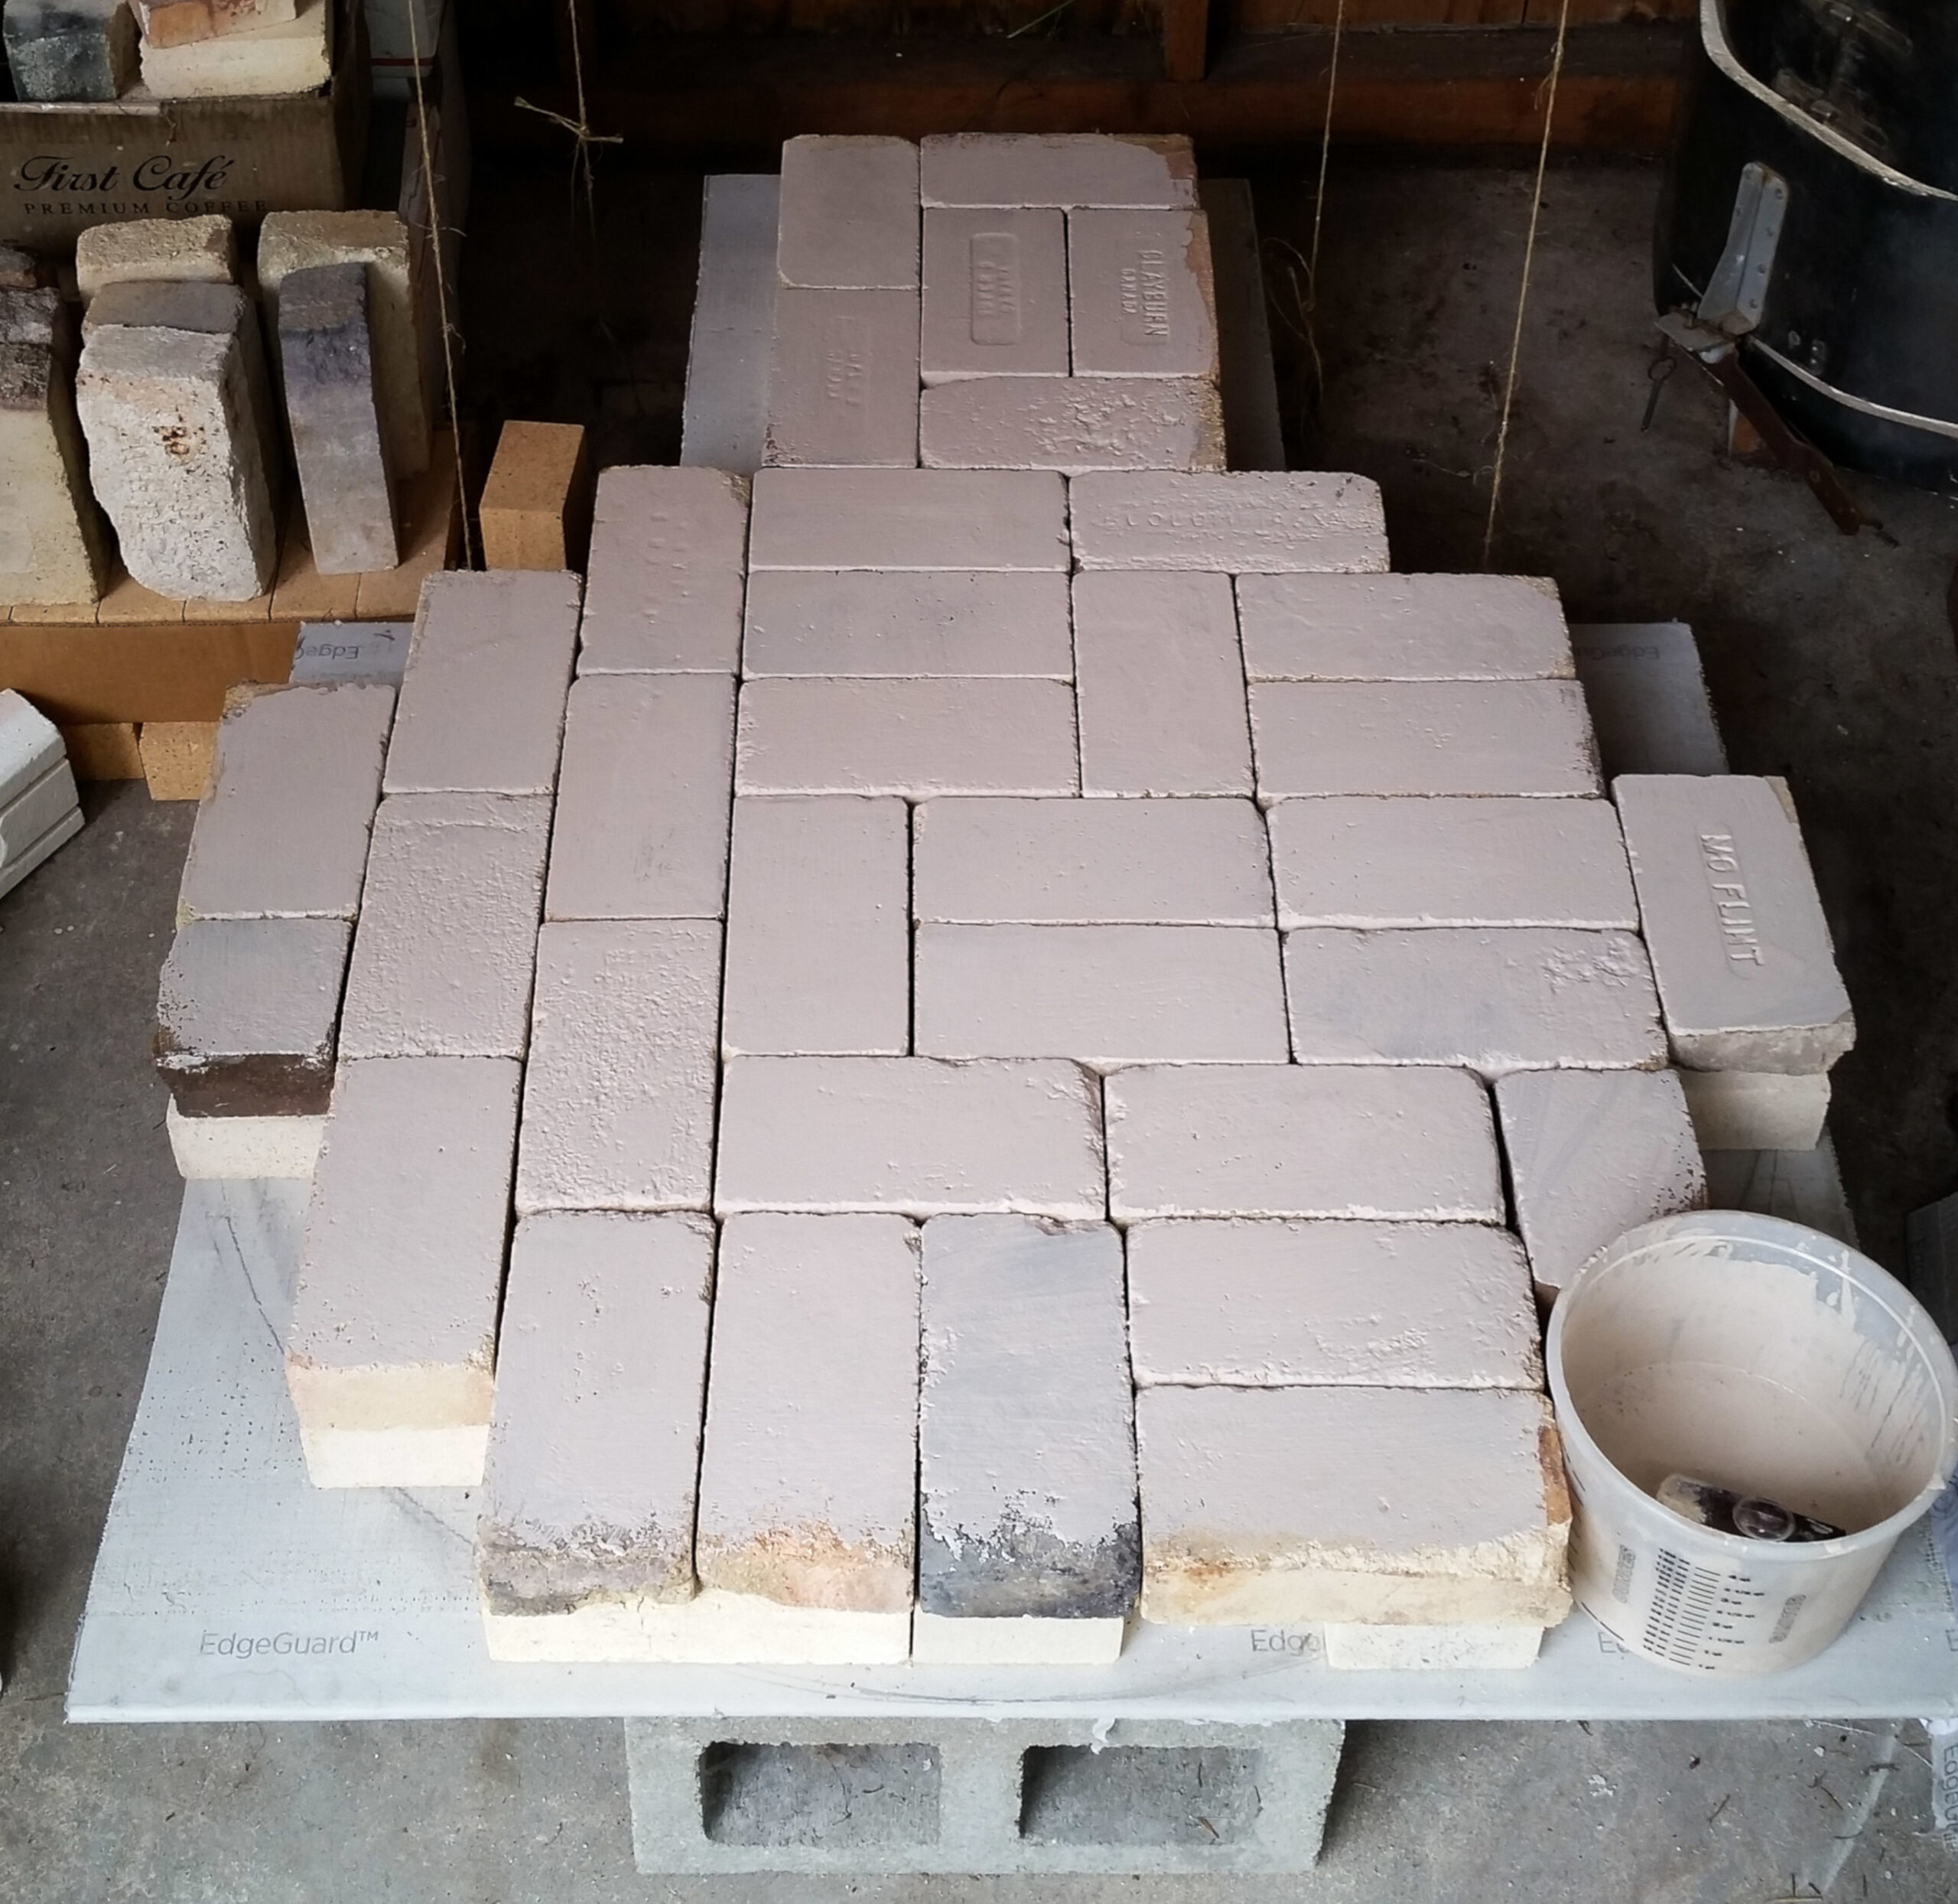
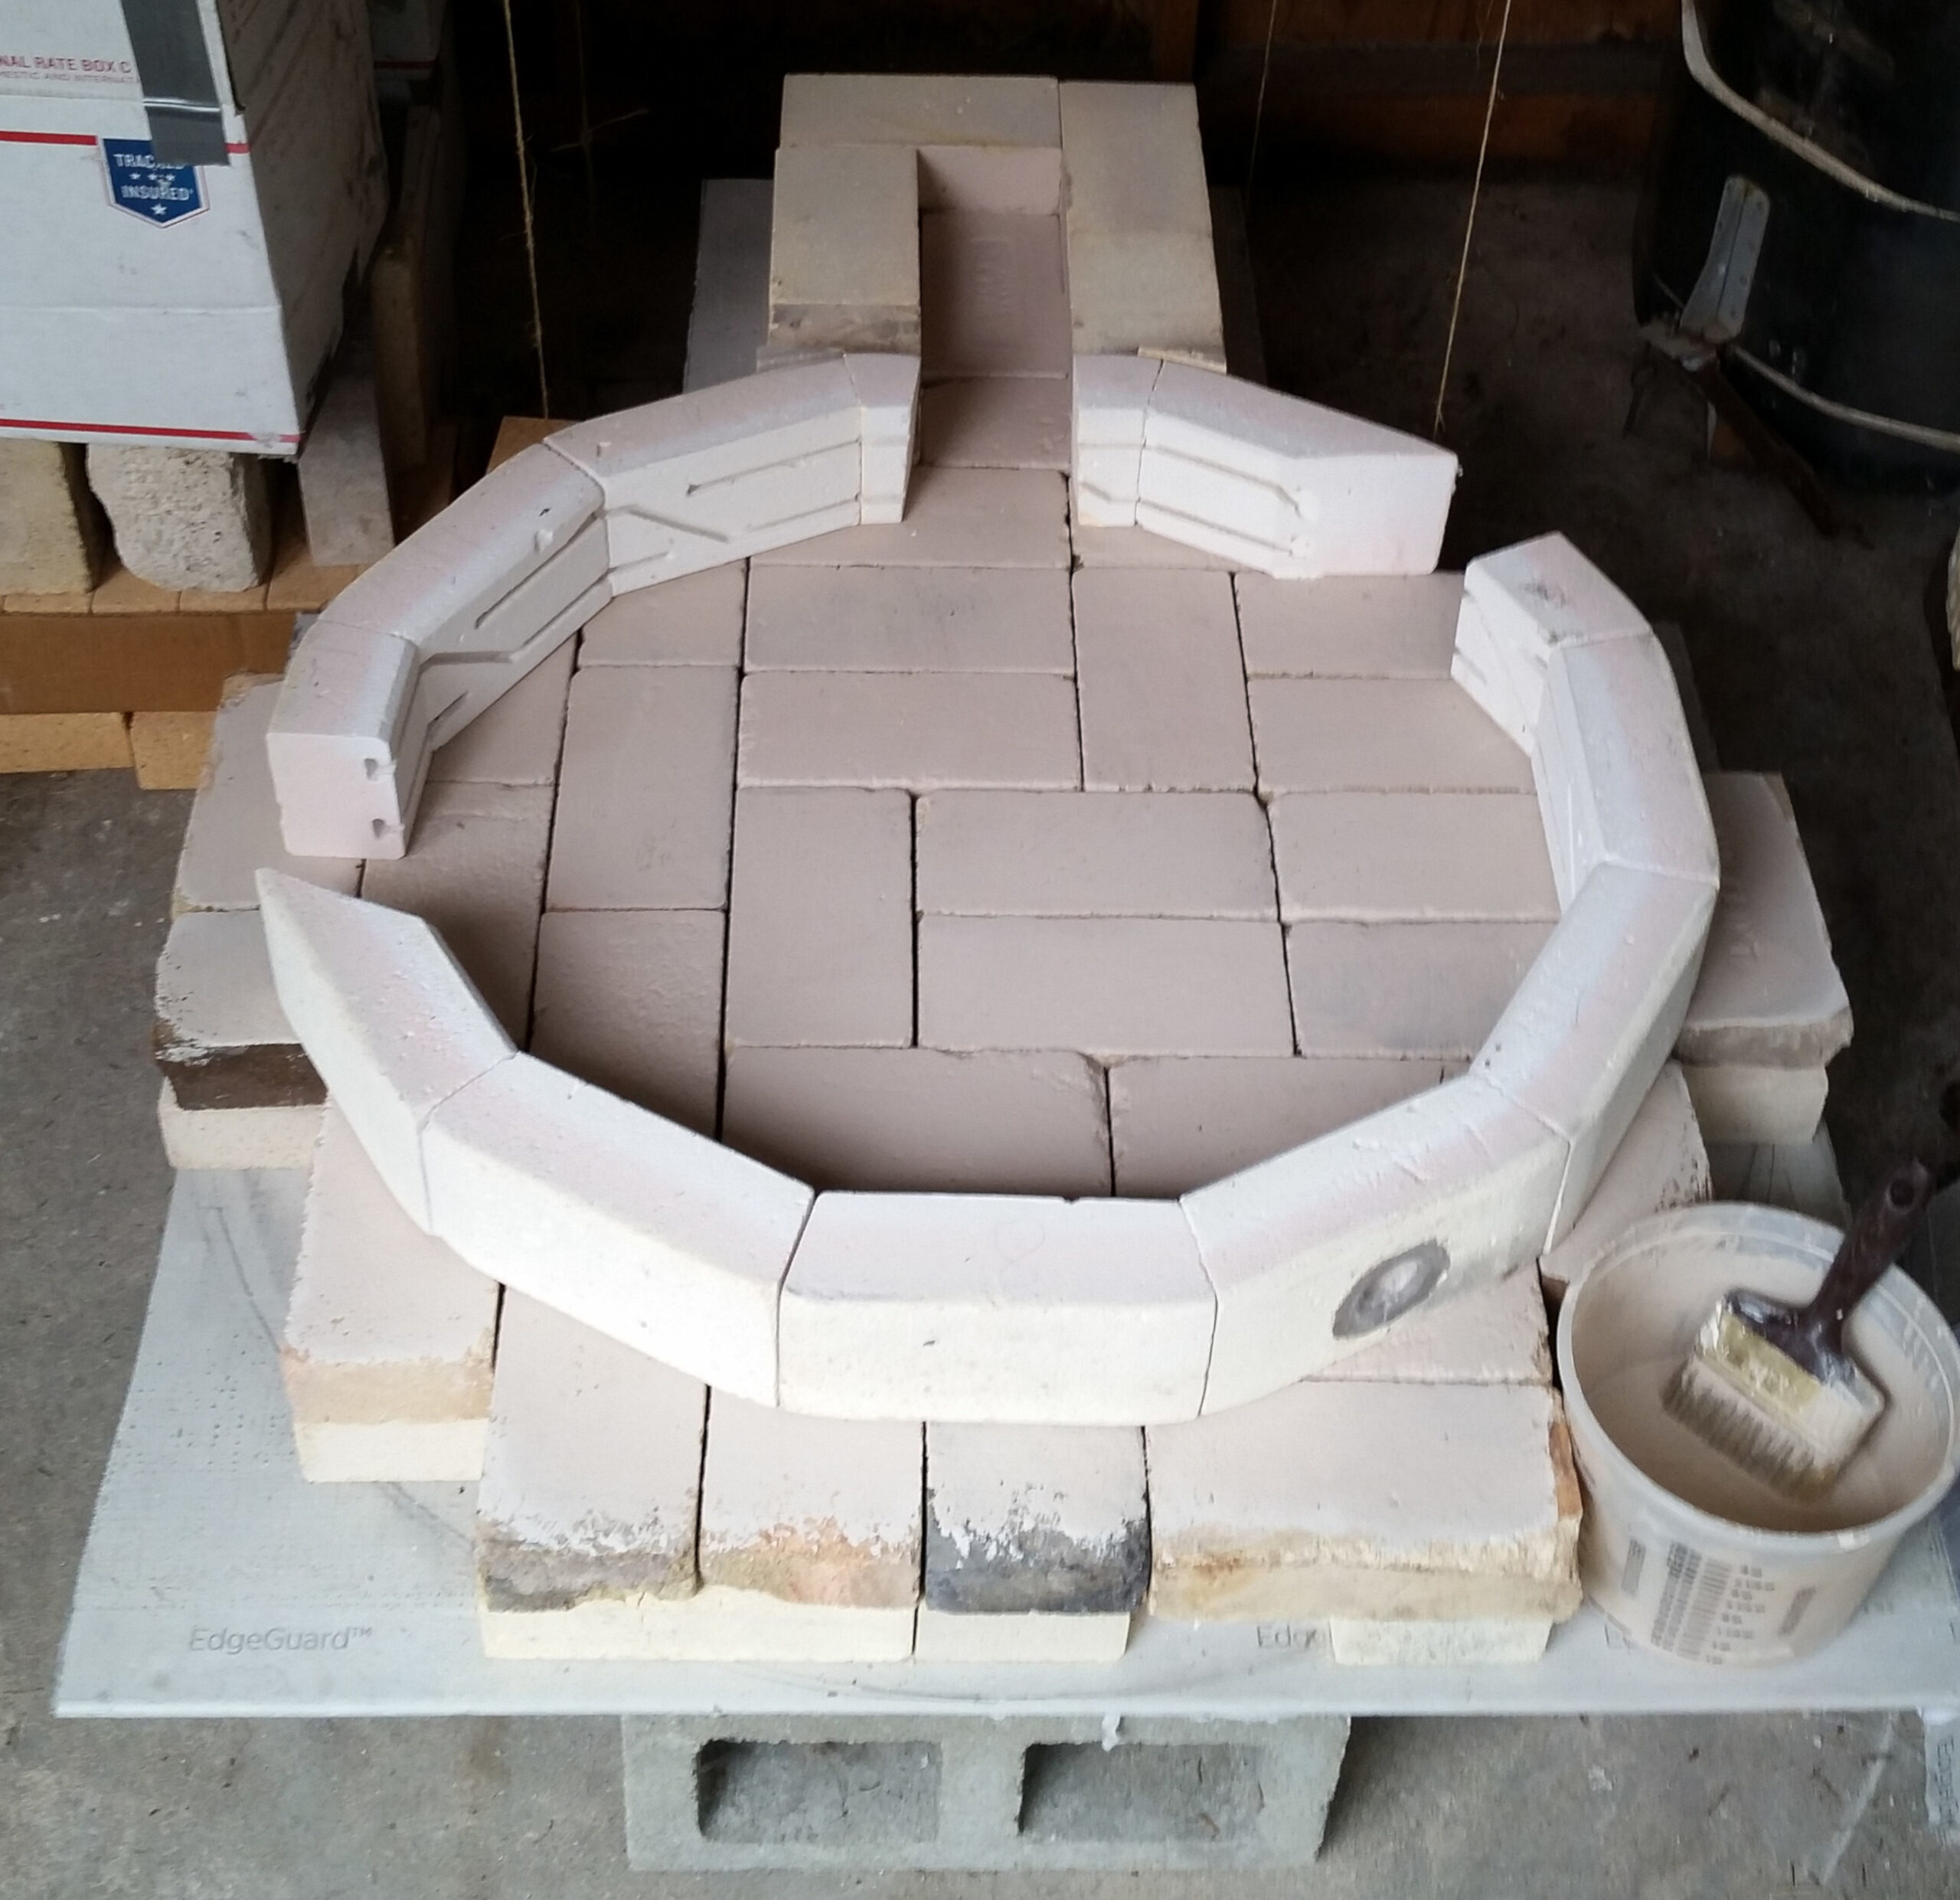
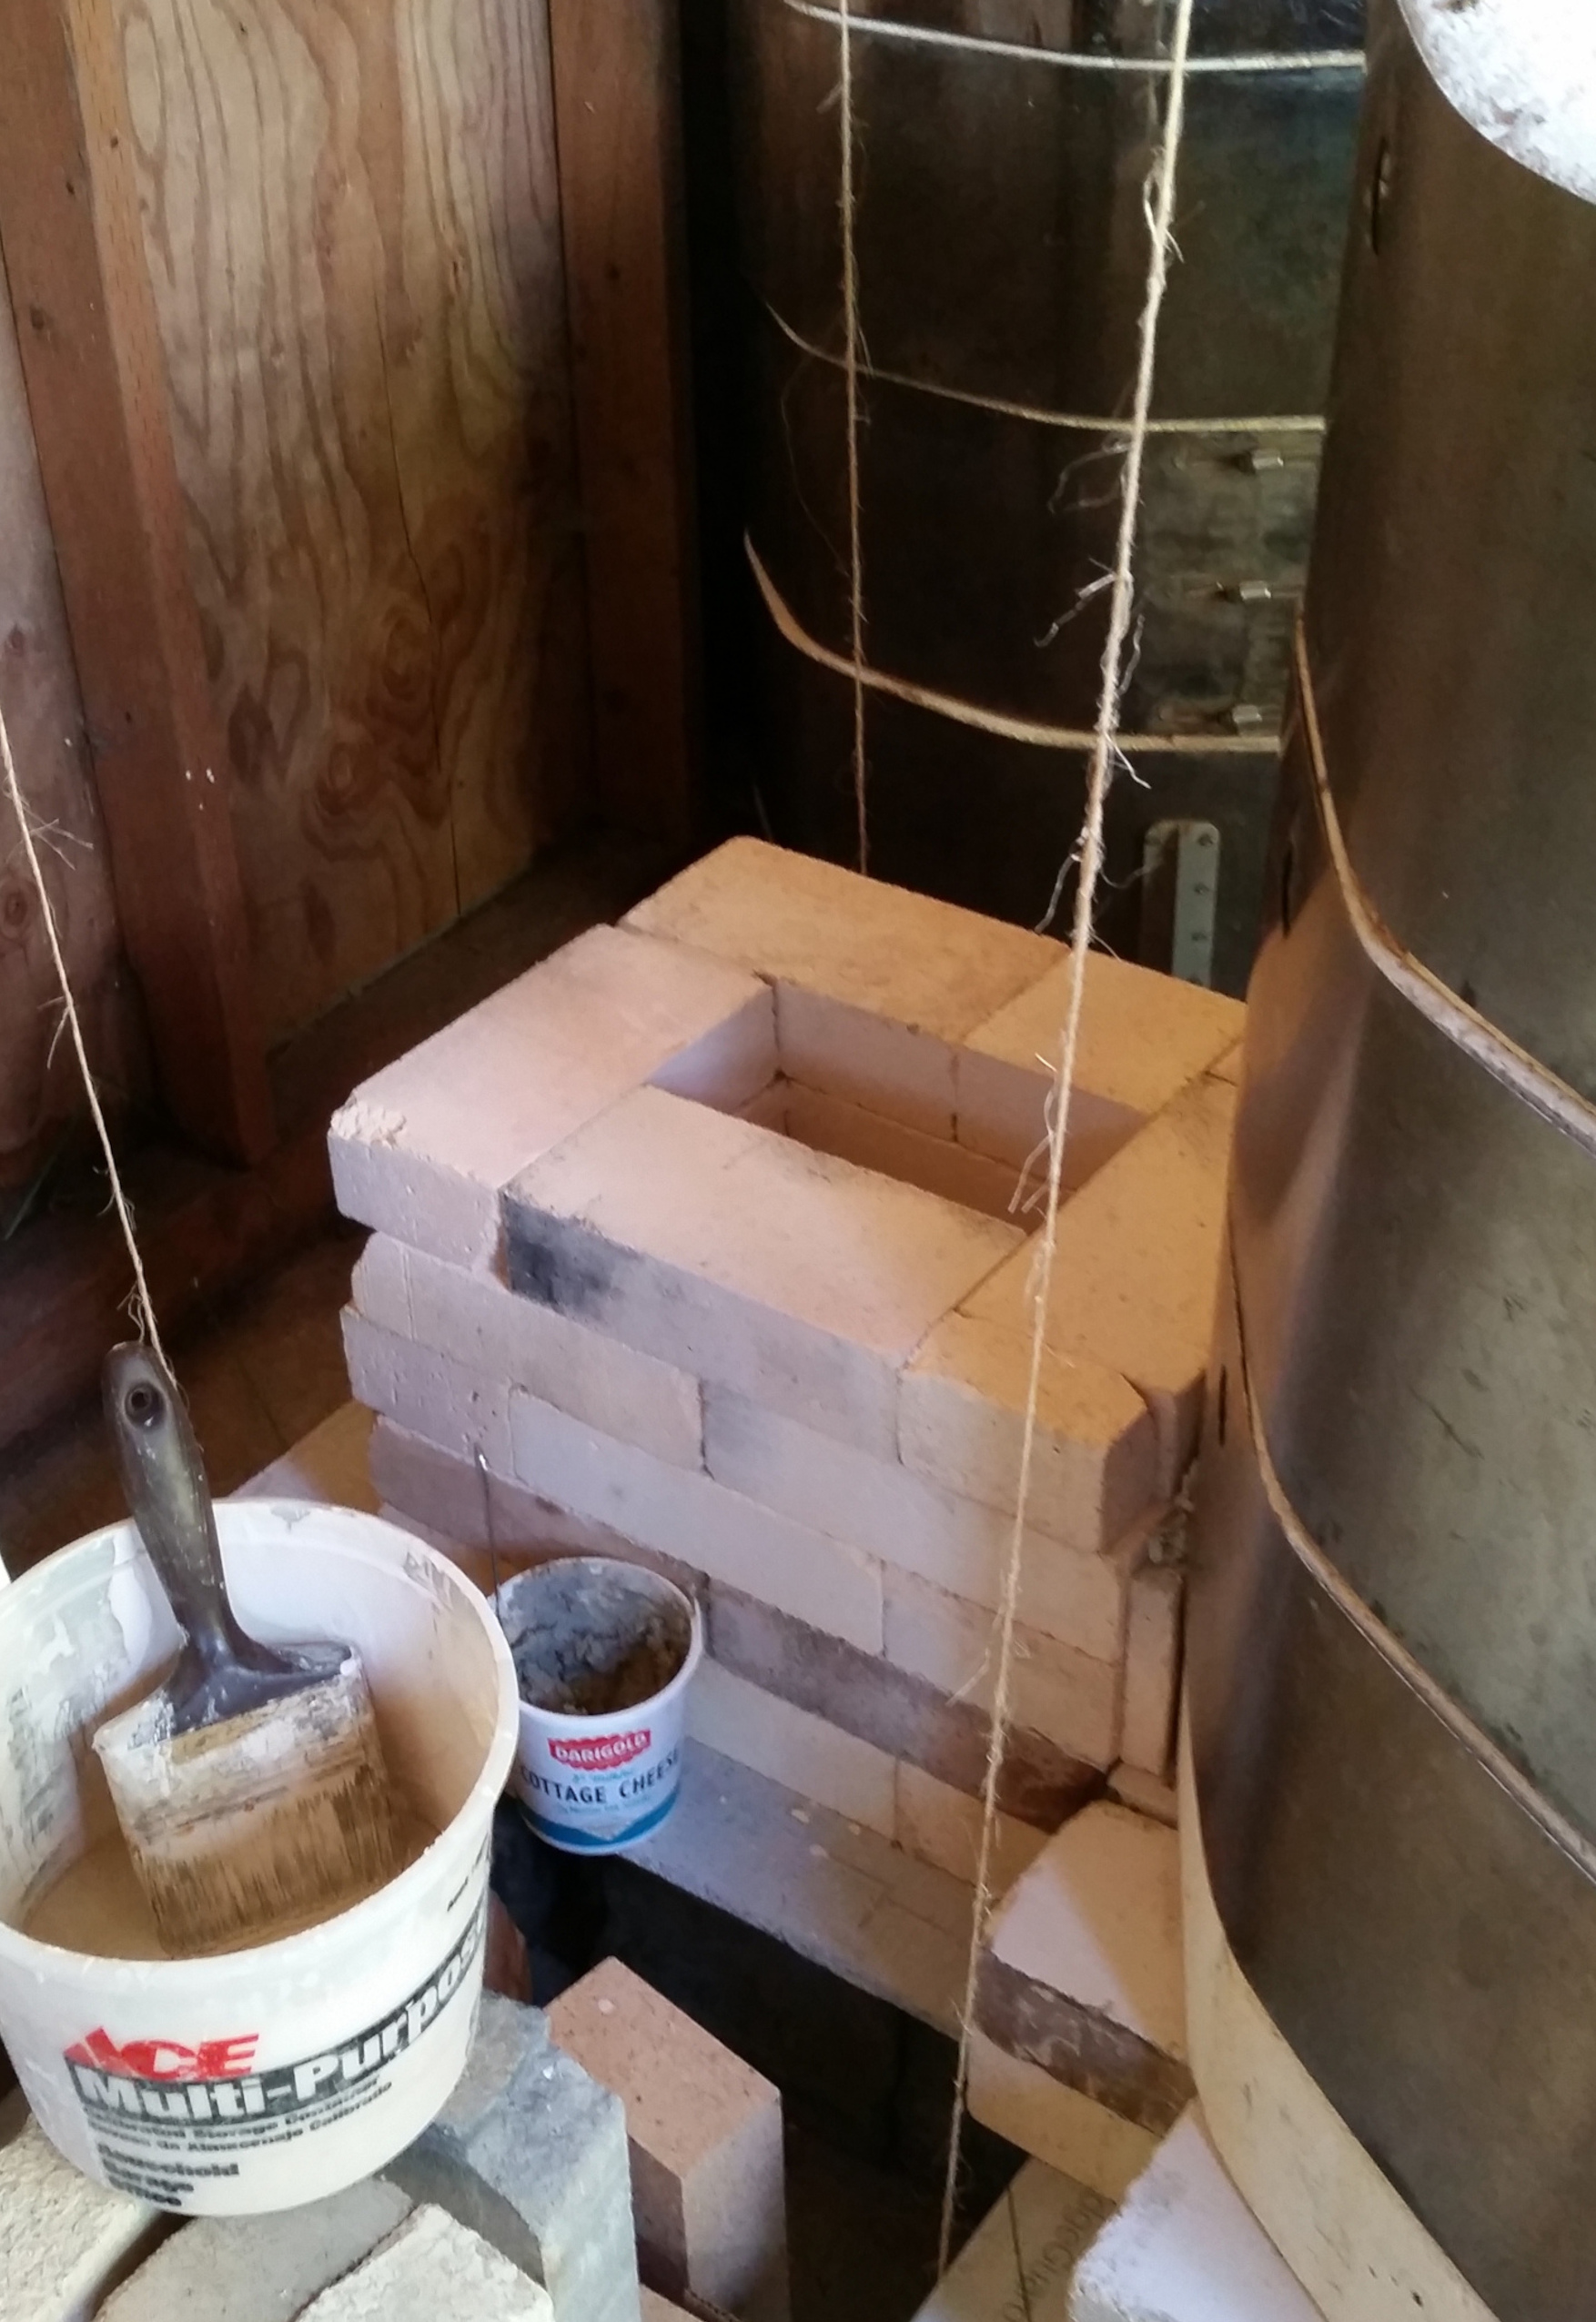
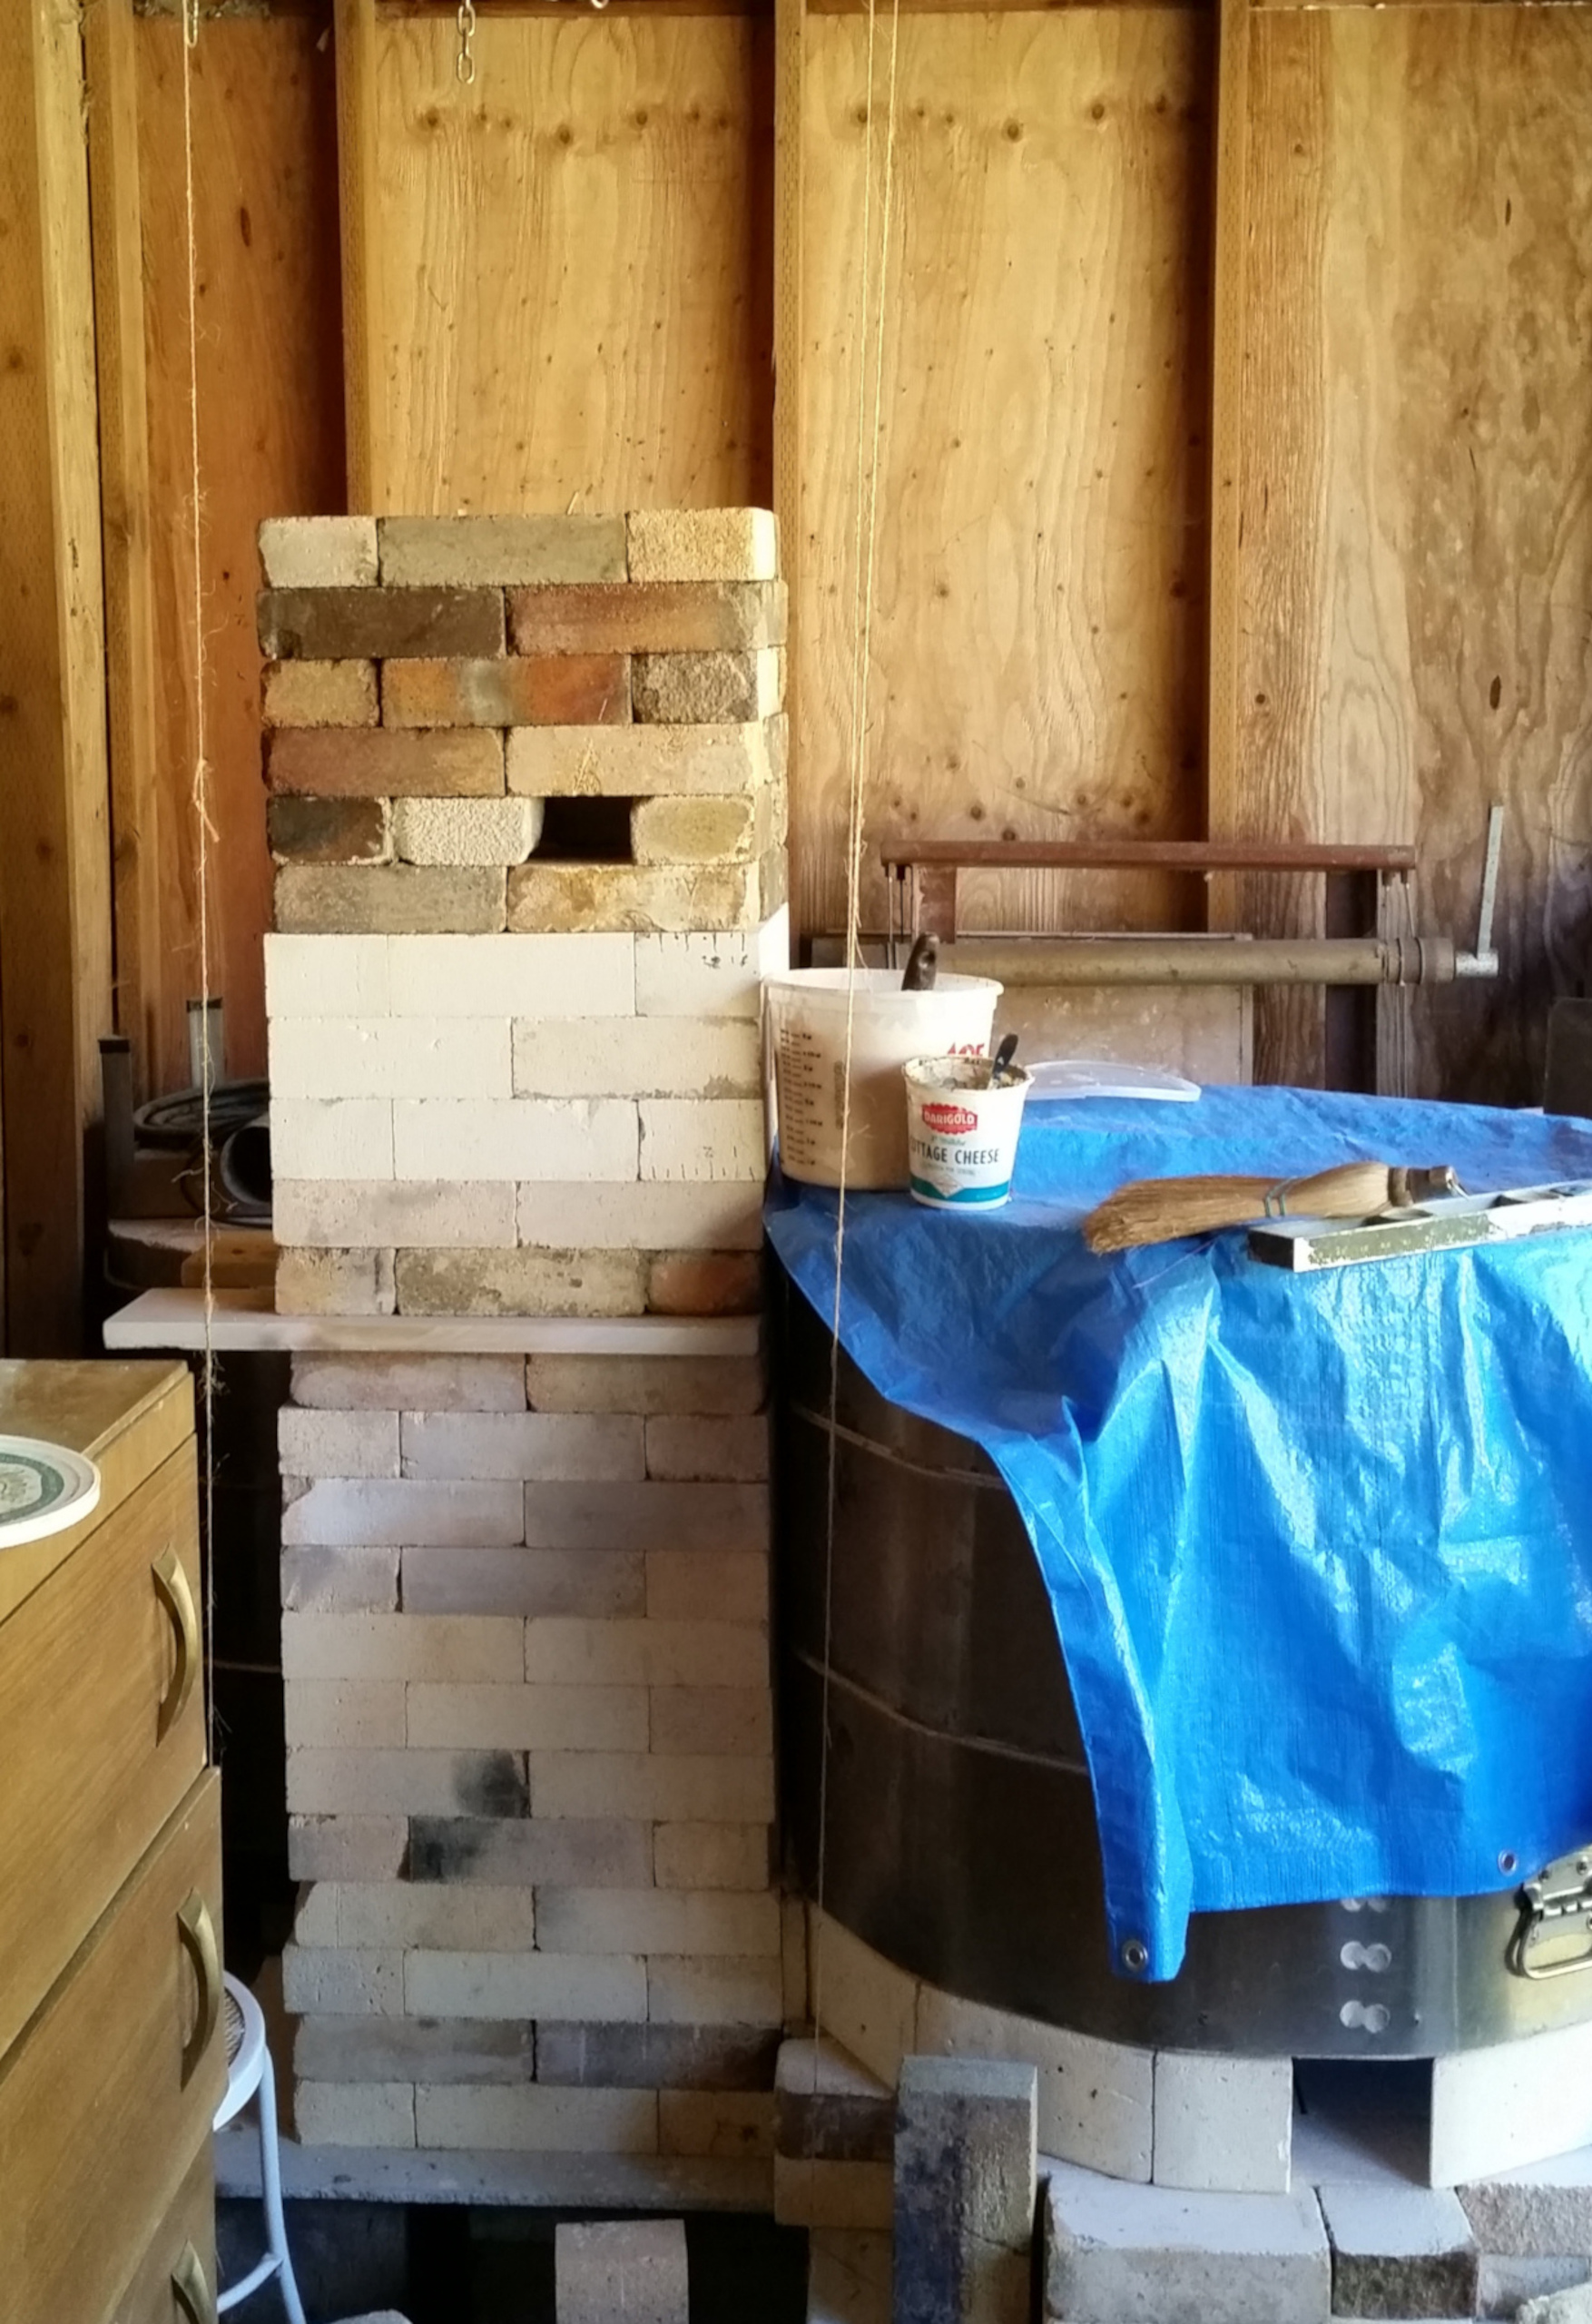
I already had an open shed with a concrete floor to hold it, so I put down a row of cinder blocks to protect the concrete from the heat and a sheet of cement board to make a level building surface. Then, I built the floor of the kiln and base of the chimney. I started with one layer of soft brick for insulation, then a layer of hard brick for durability. Next, I added the burner port row and the kiln body in sections. Nothing was mortared in place, which gave me a lot of flexibility to move the burners around.
The Flame
I tried a few configurations, including the kiln’s original spiraling one, but settled on both burners next to the chimney, pointed at the front wall of the kiln. Brick burner channels direct the flame forwards and up and wall it off from the chimney. This is capped by the bottom shelf, which I customized with a tile saw. It’s almost the diameter of the kiln, and closely fitted to the back wall, with a cutout in the back to let the chimney draw, and in the front to let the flame rise. It’s worked really well, with the kiln returning very even temperatures (the bottom tends to run a cone hotter, at most) and gaining heat very rapidly, even when I change up the schedule. I have two MR-100 Venturi burners hooked up to a 100-gallon propane tank, which is more than enough for my five feet of stacking space.

The Chimney
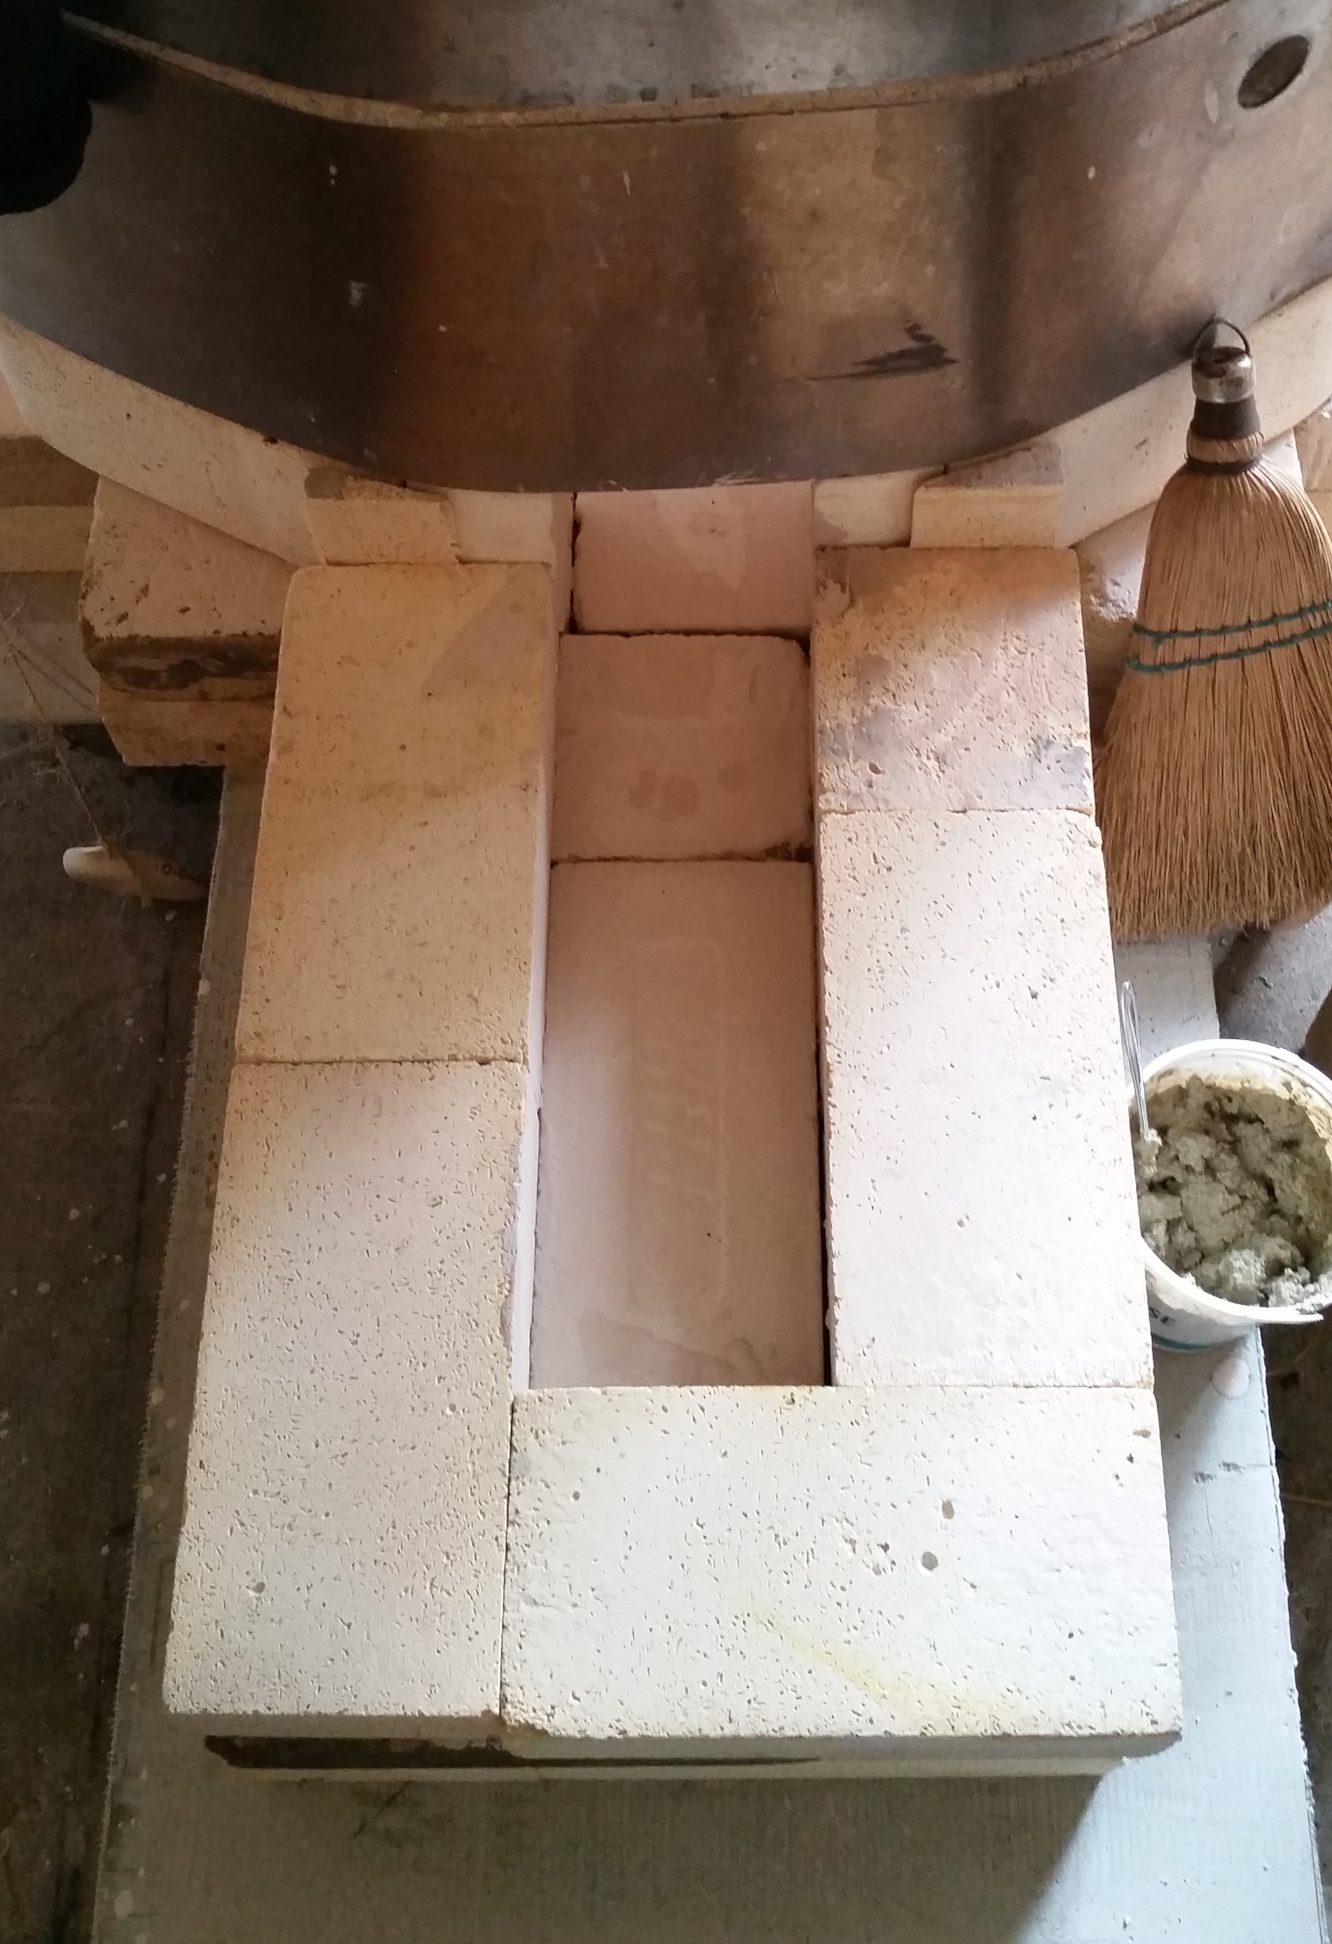
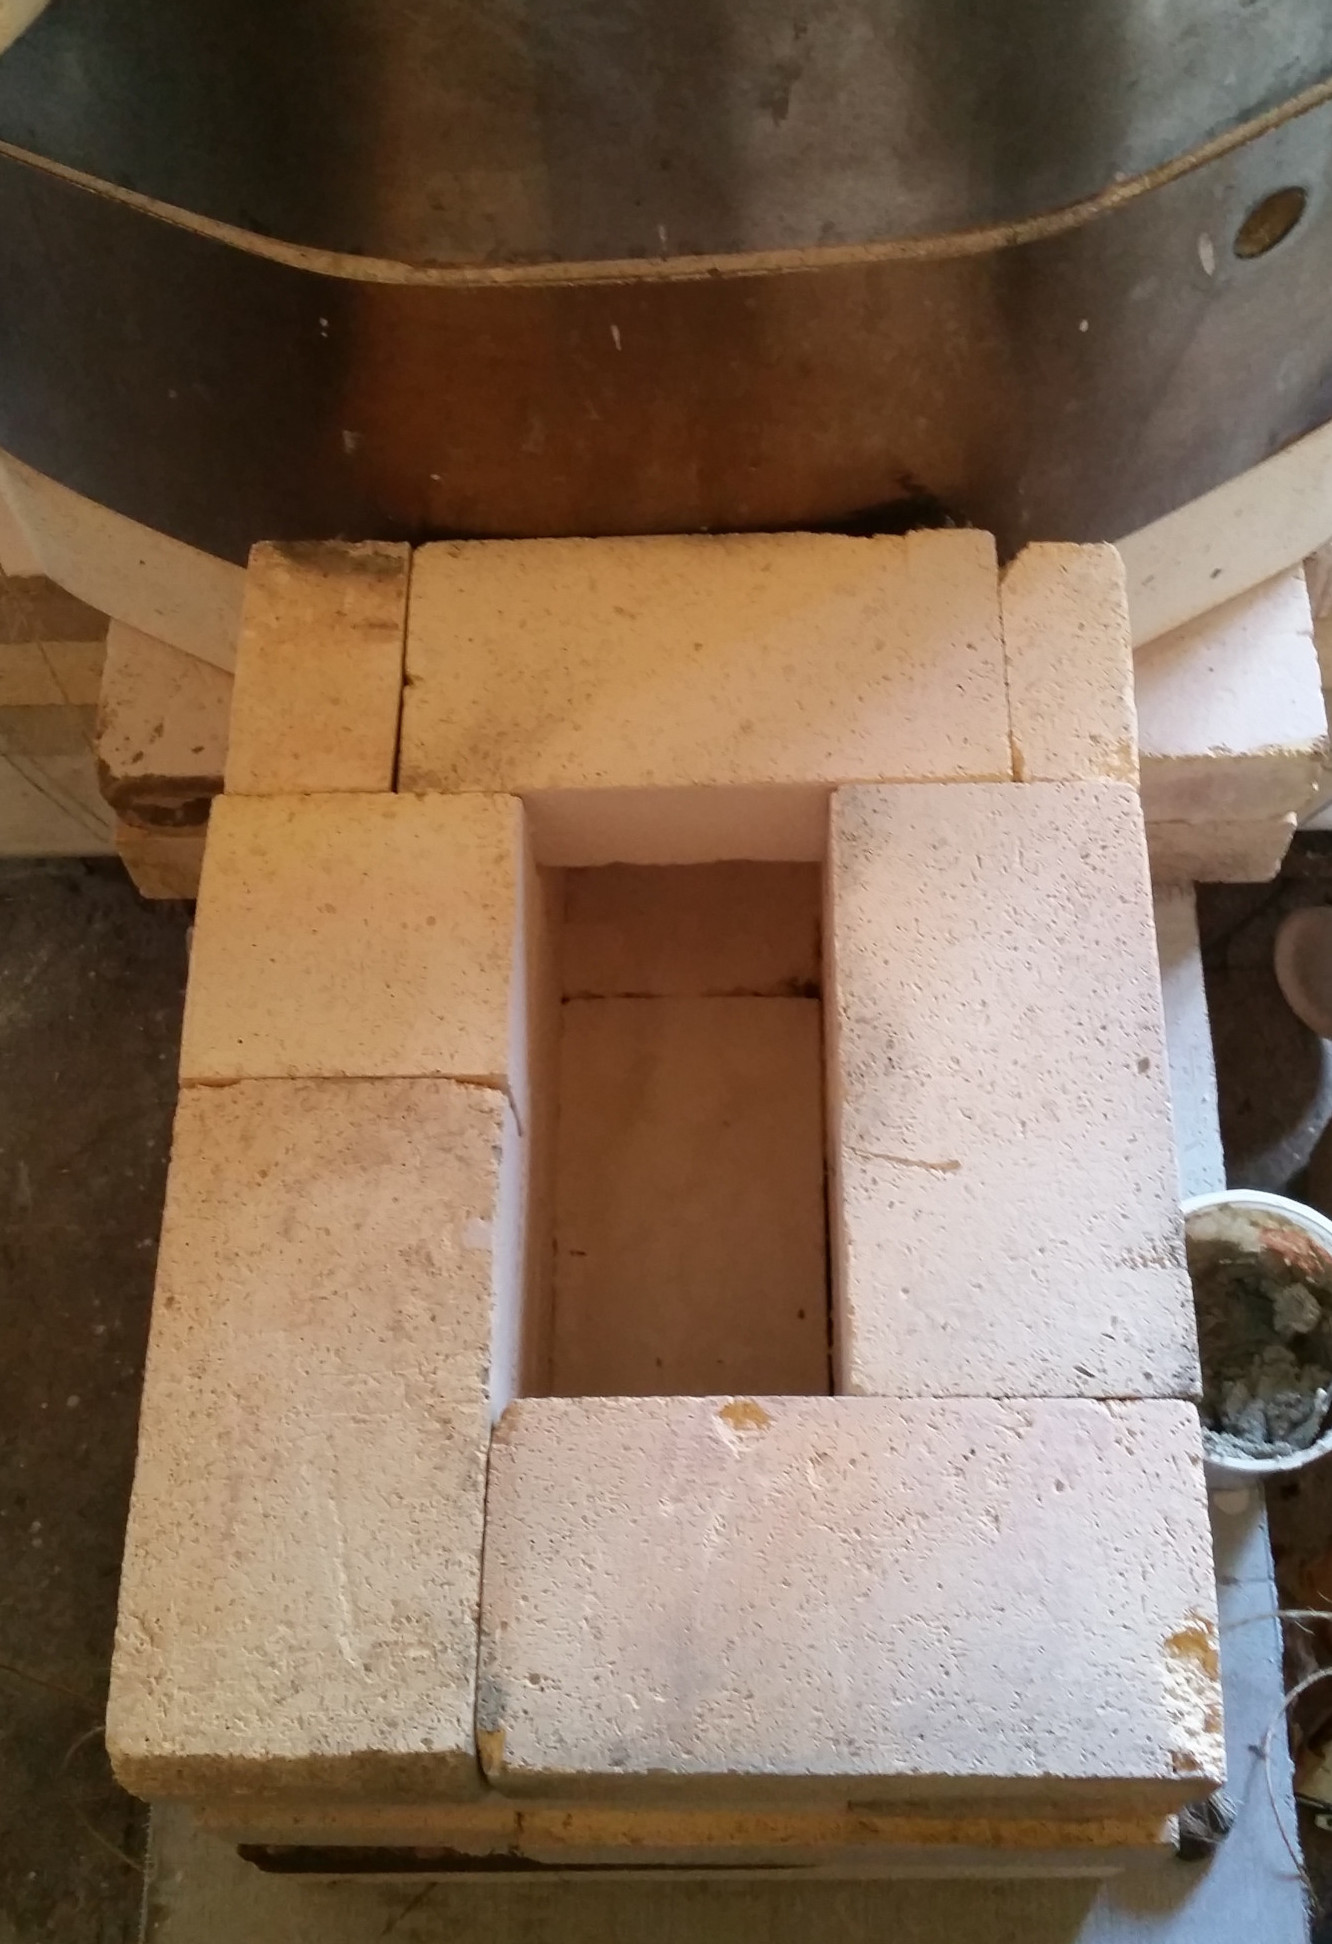
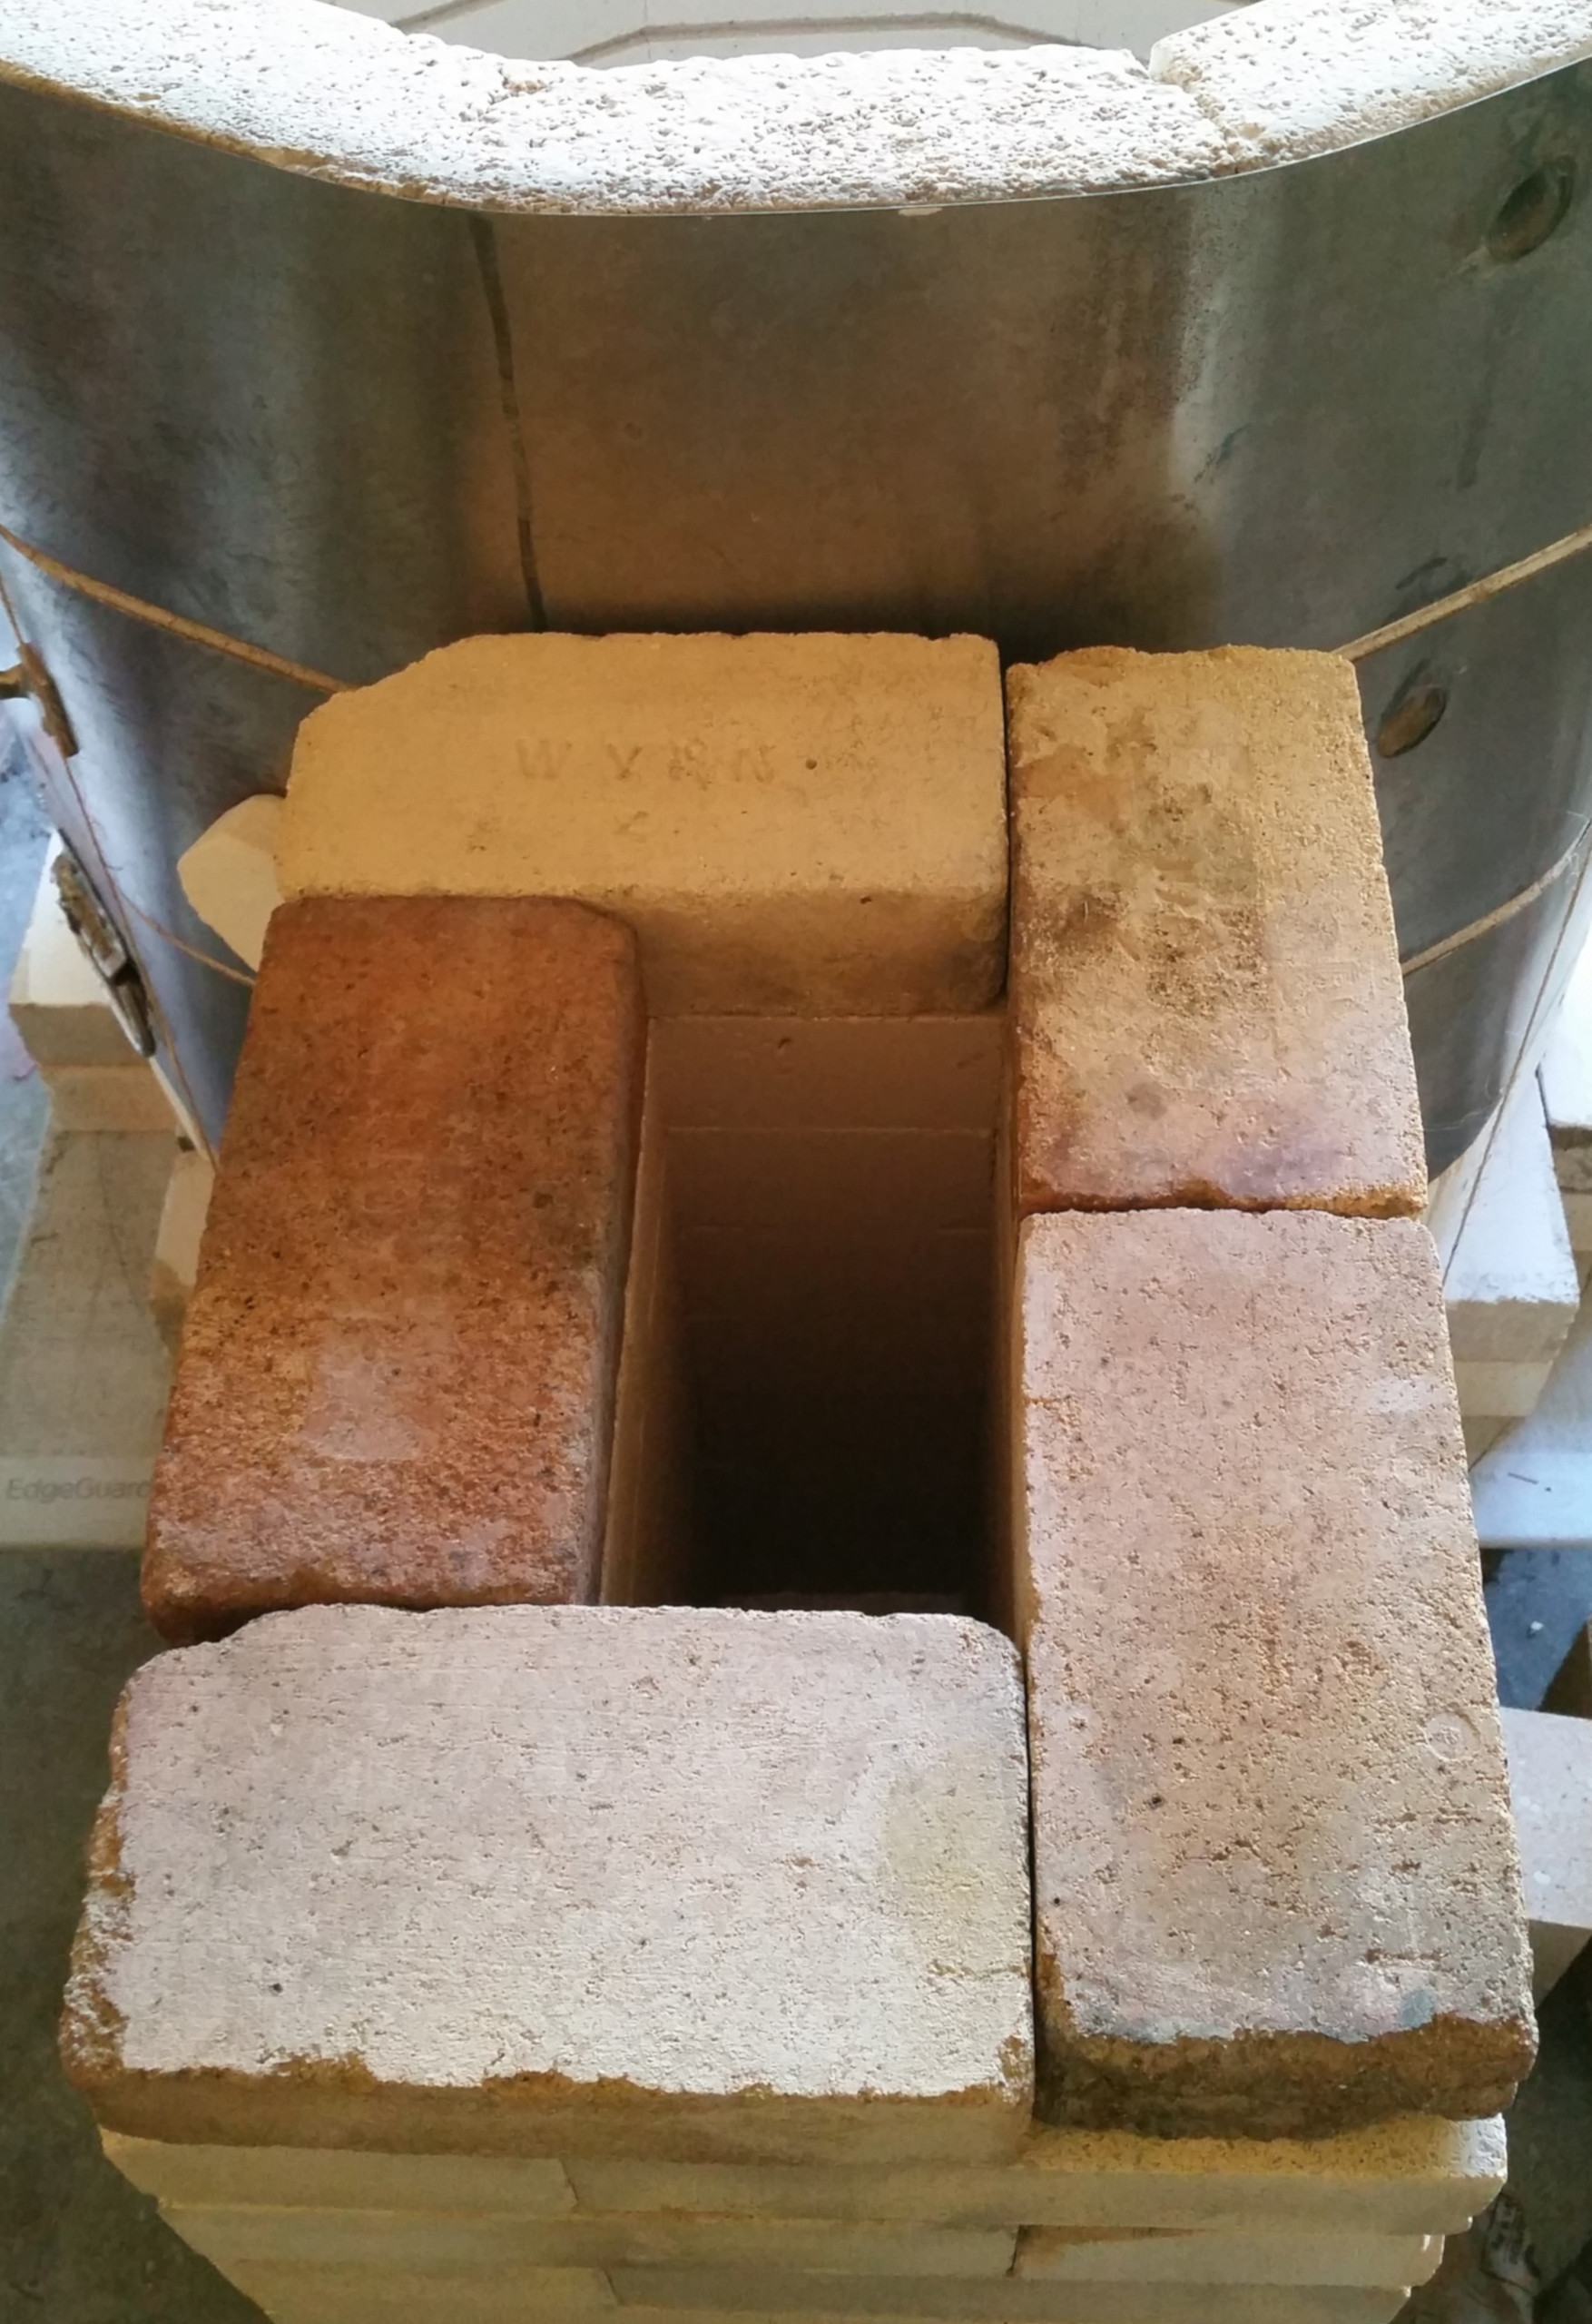
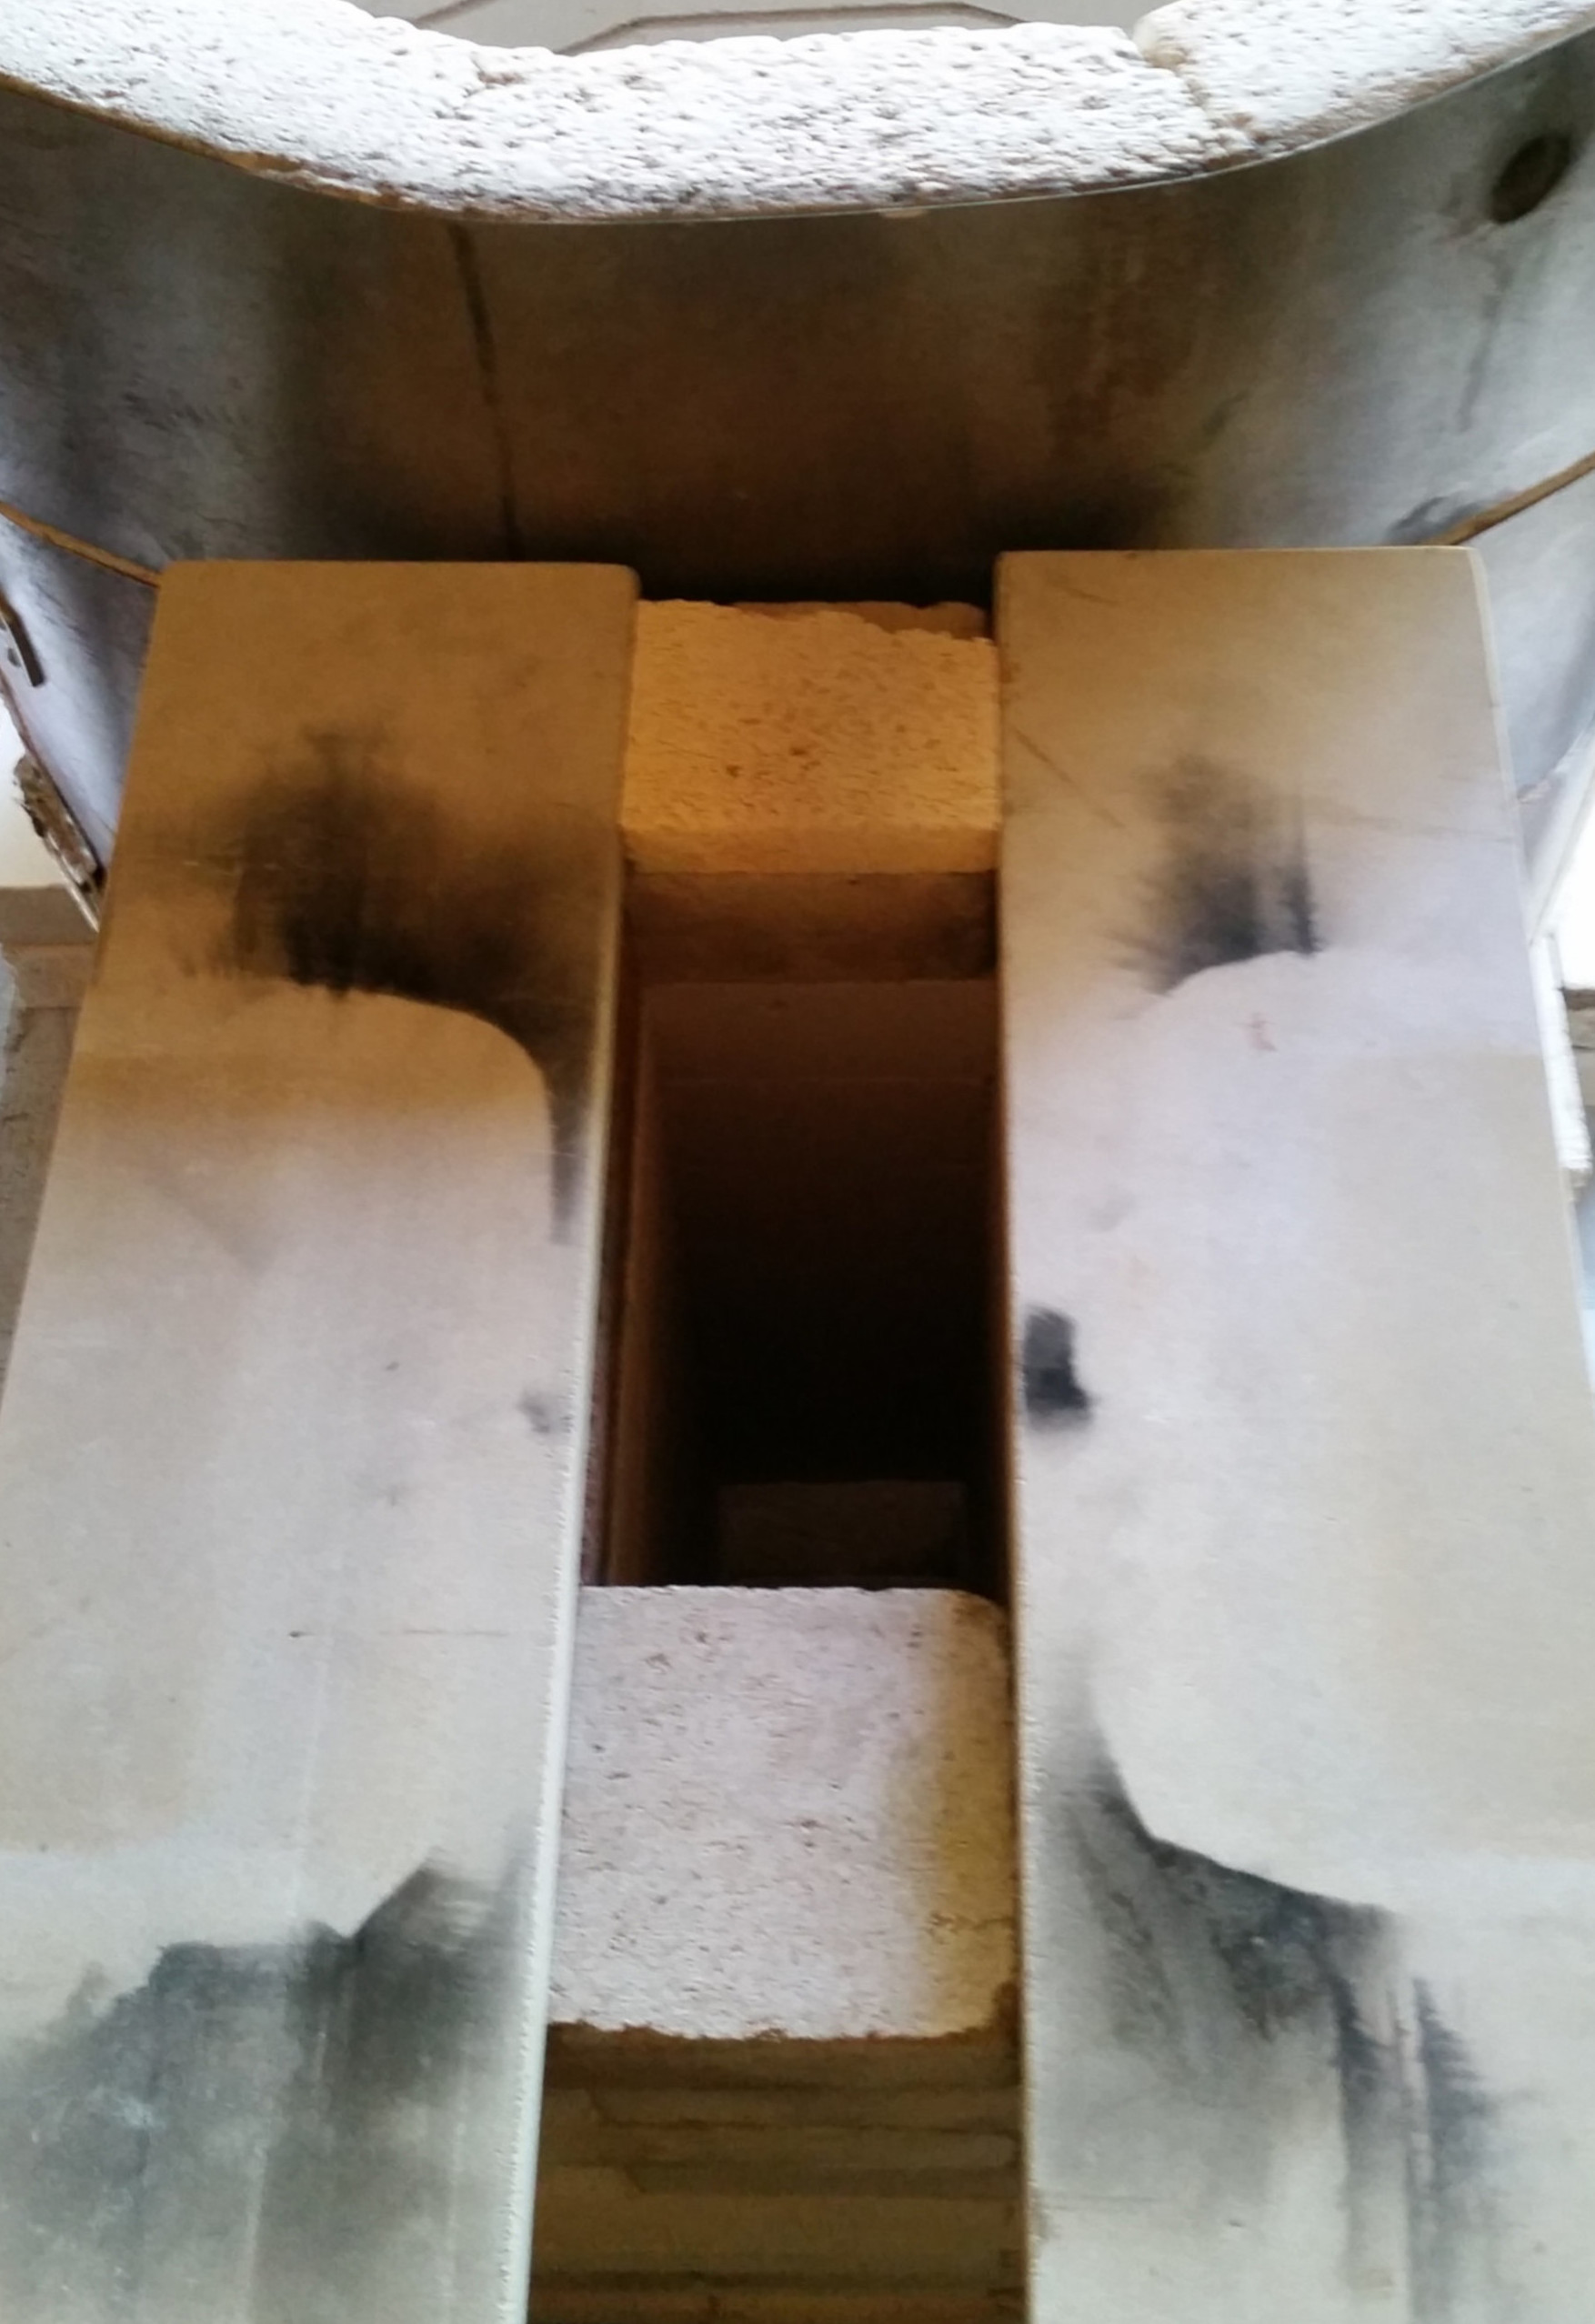
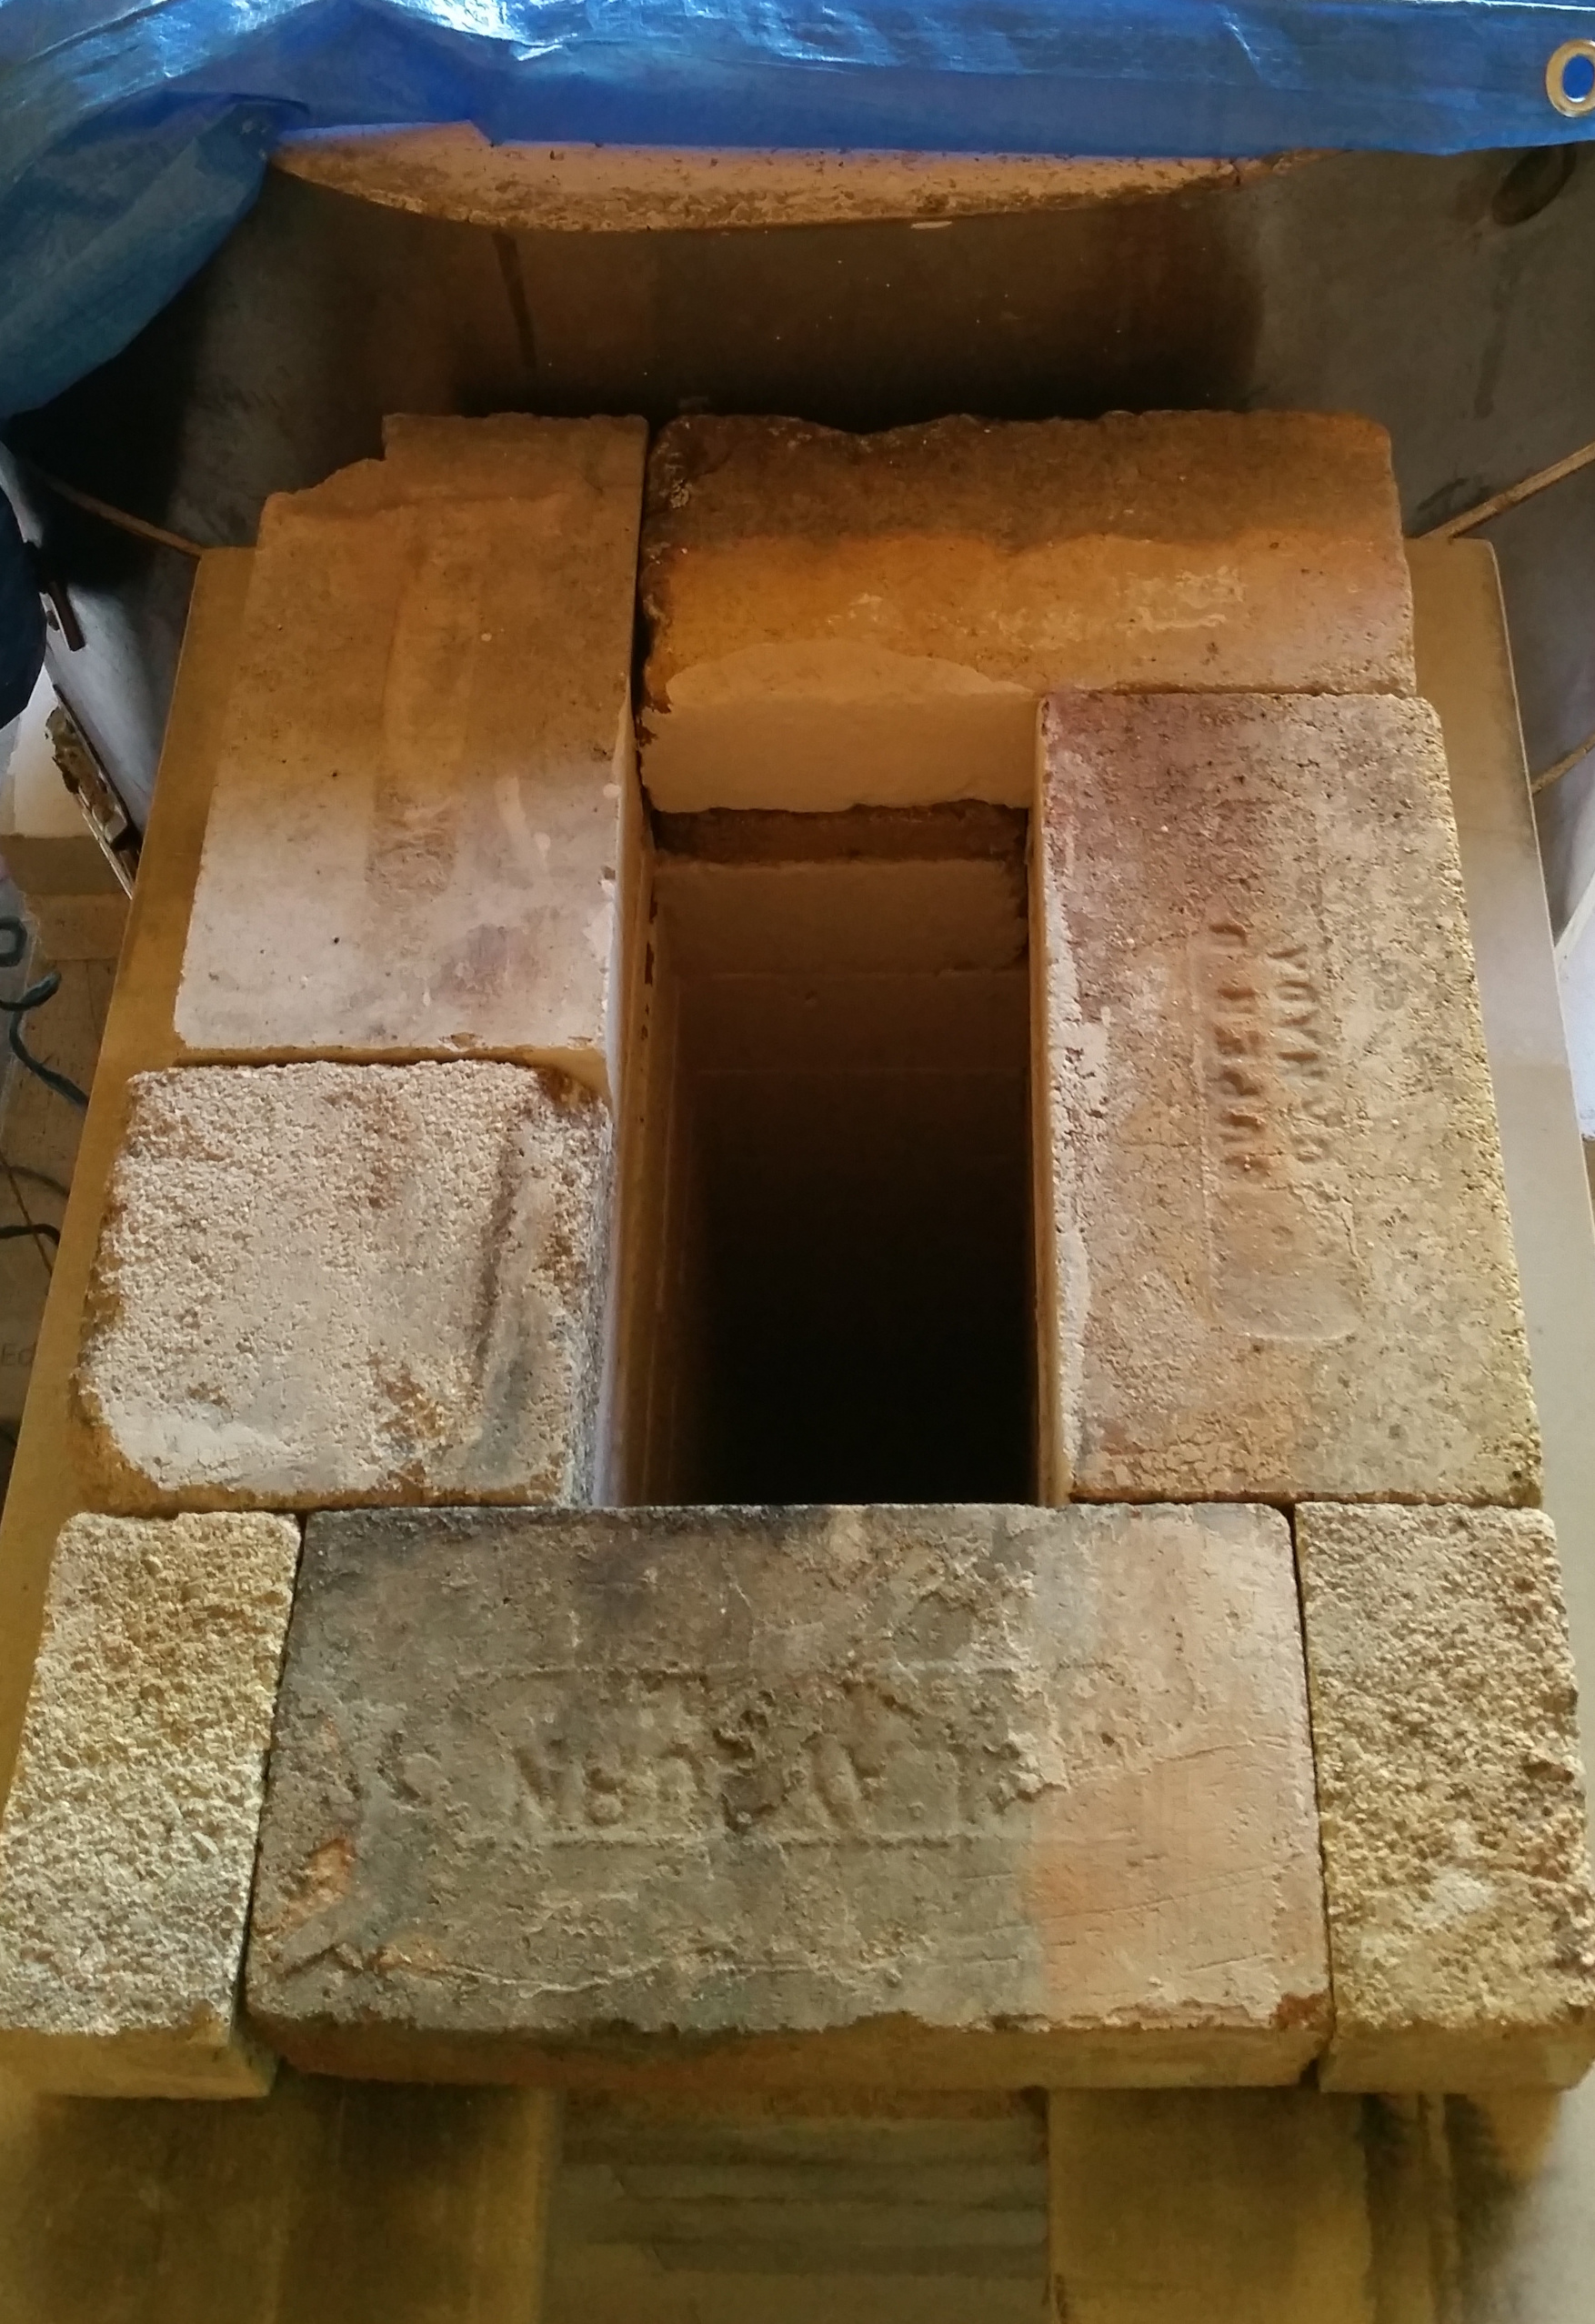
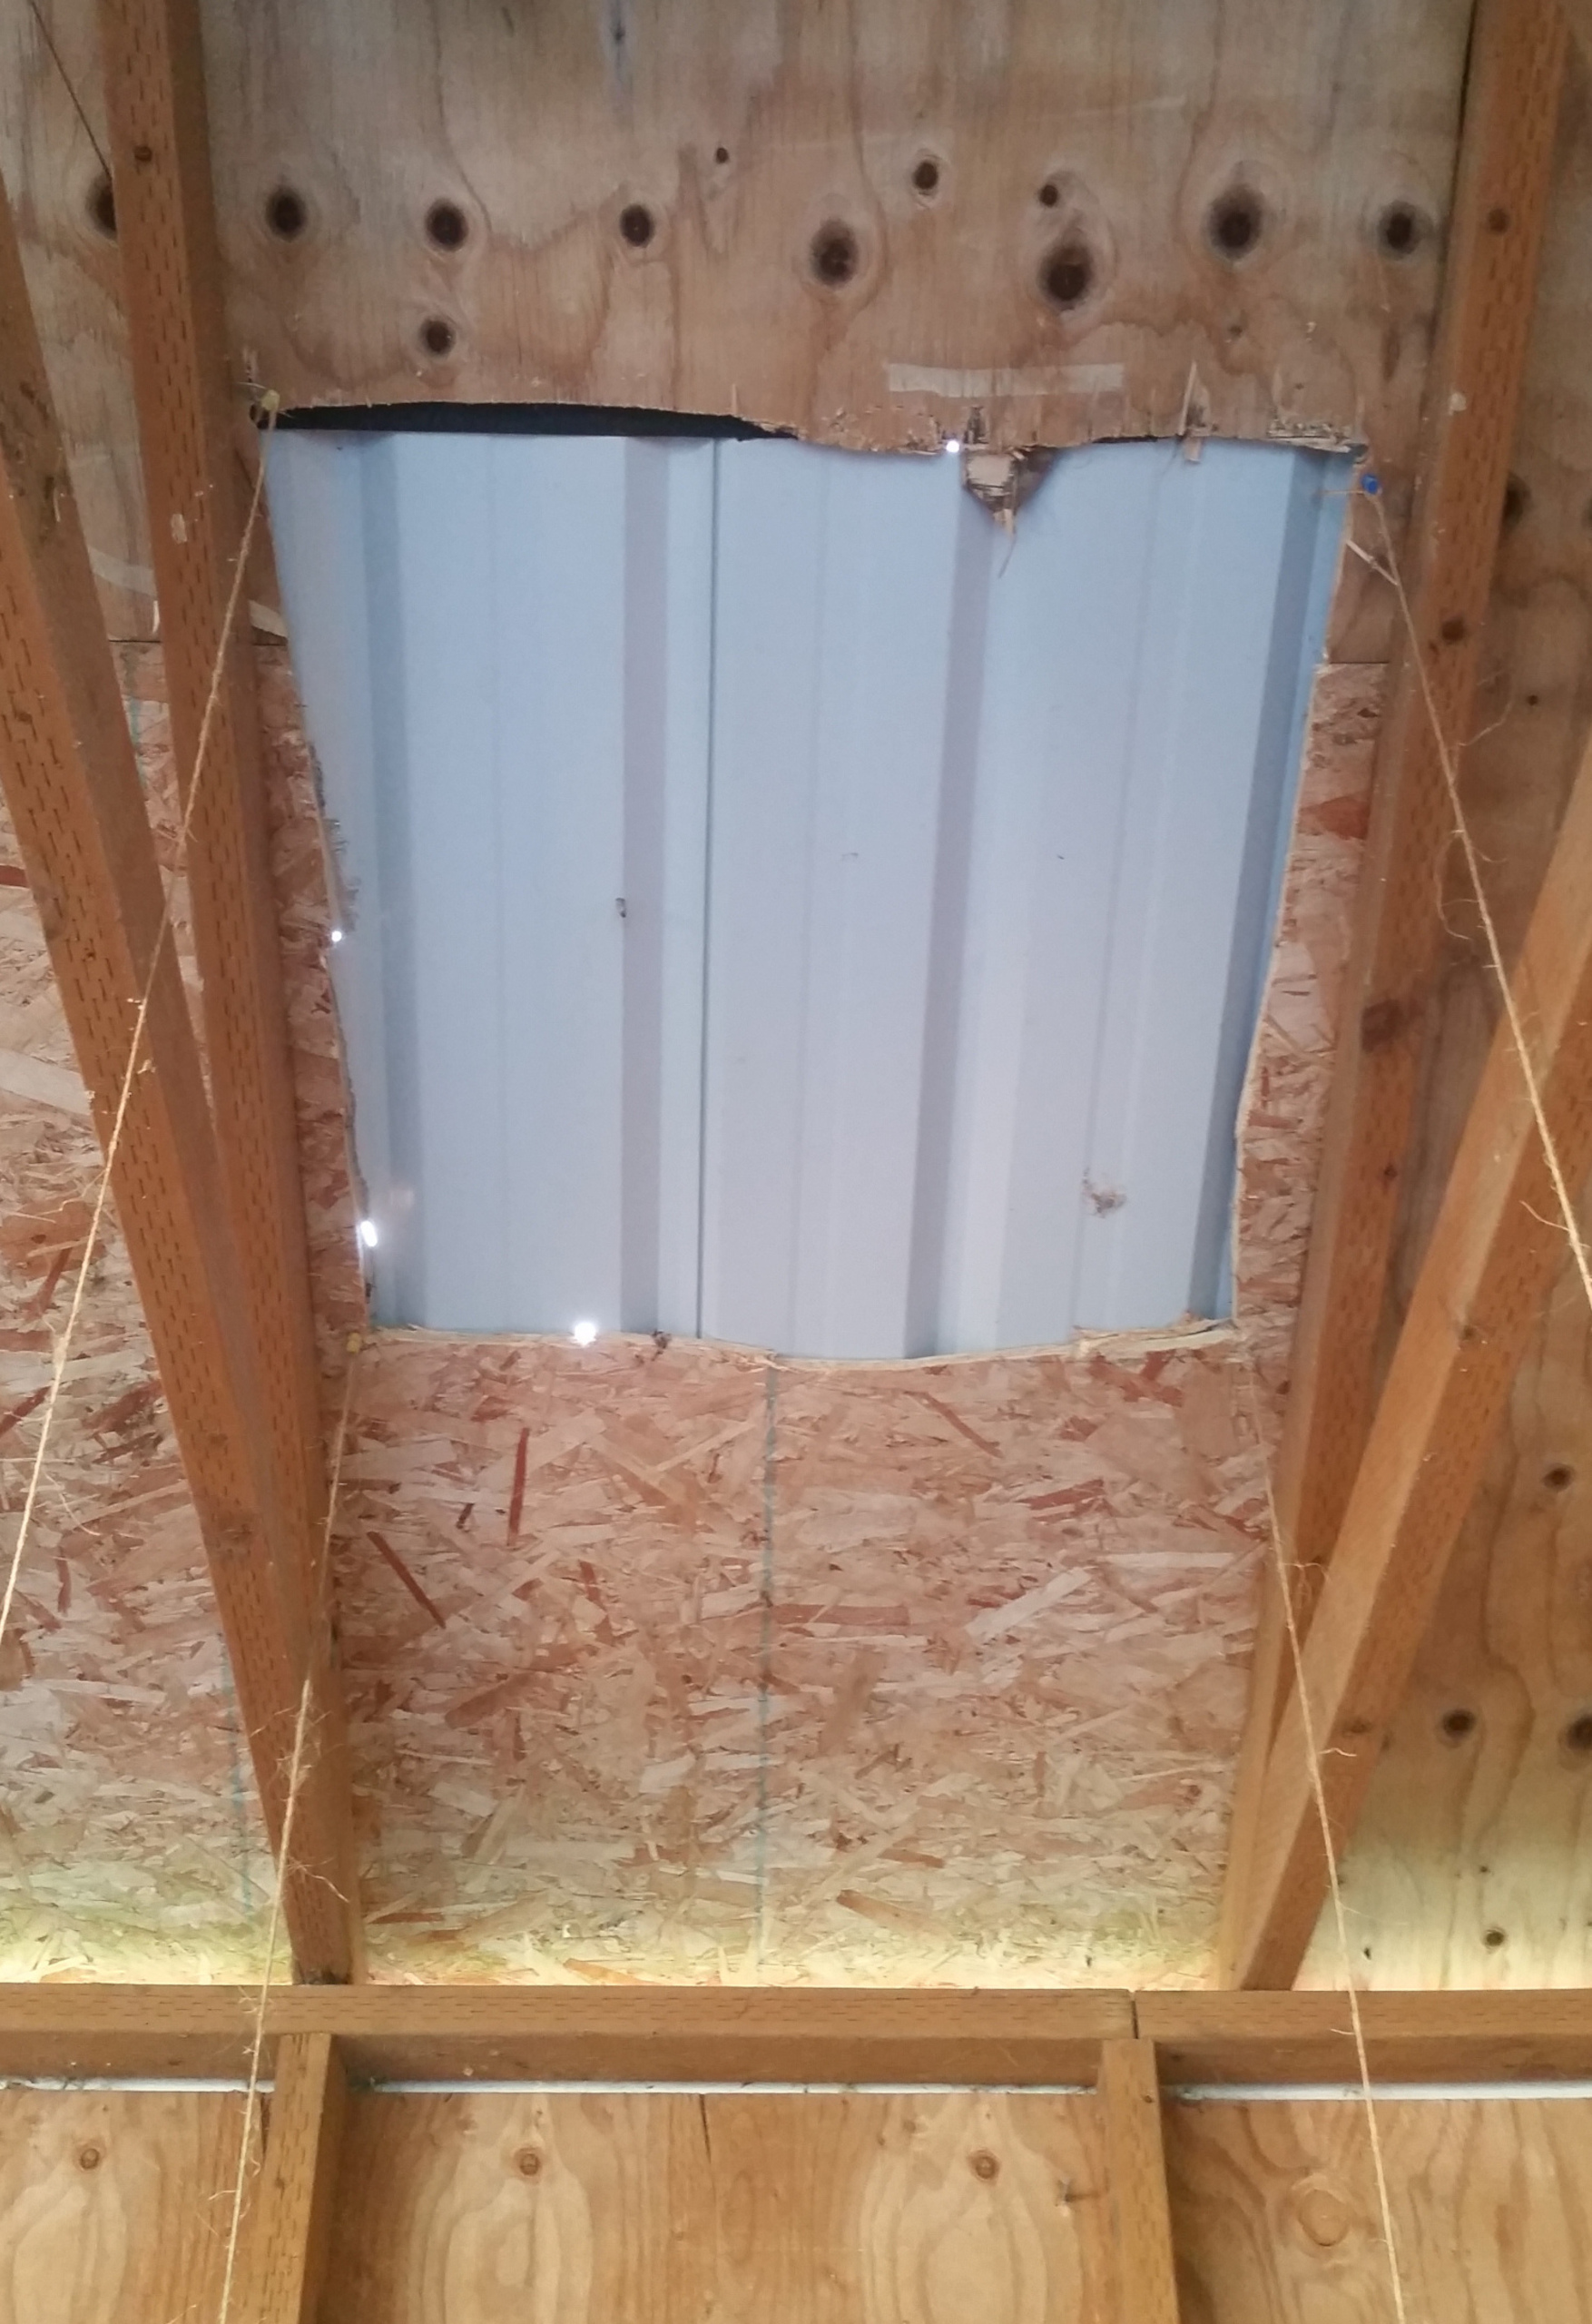
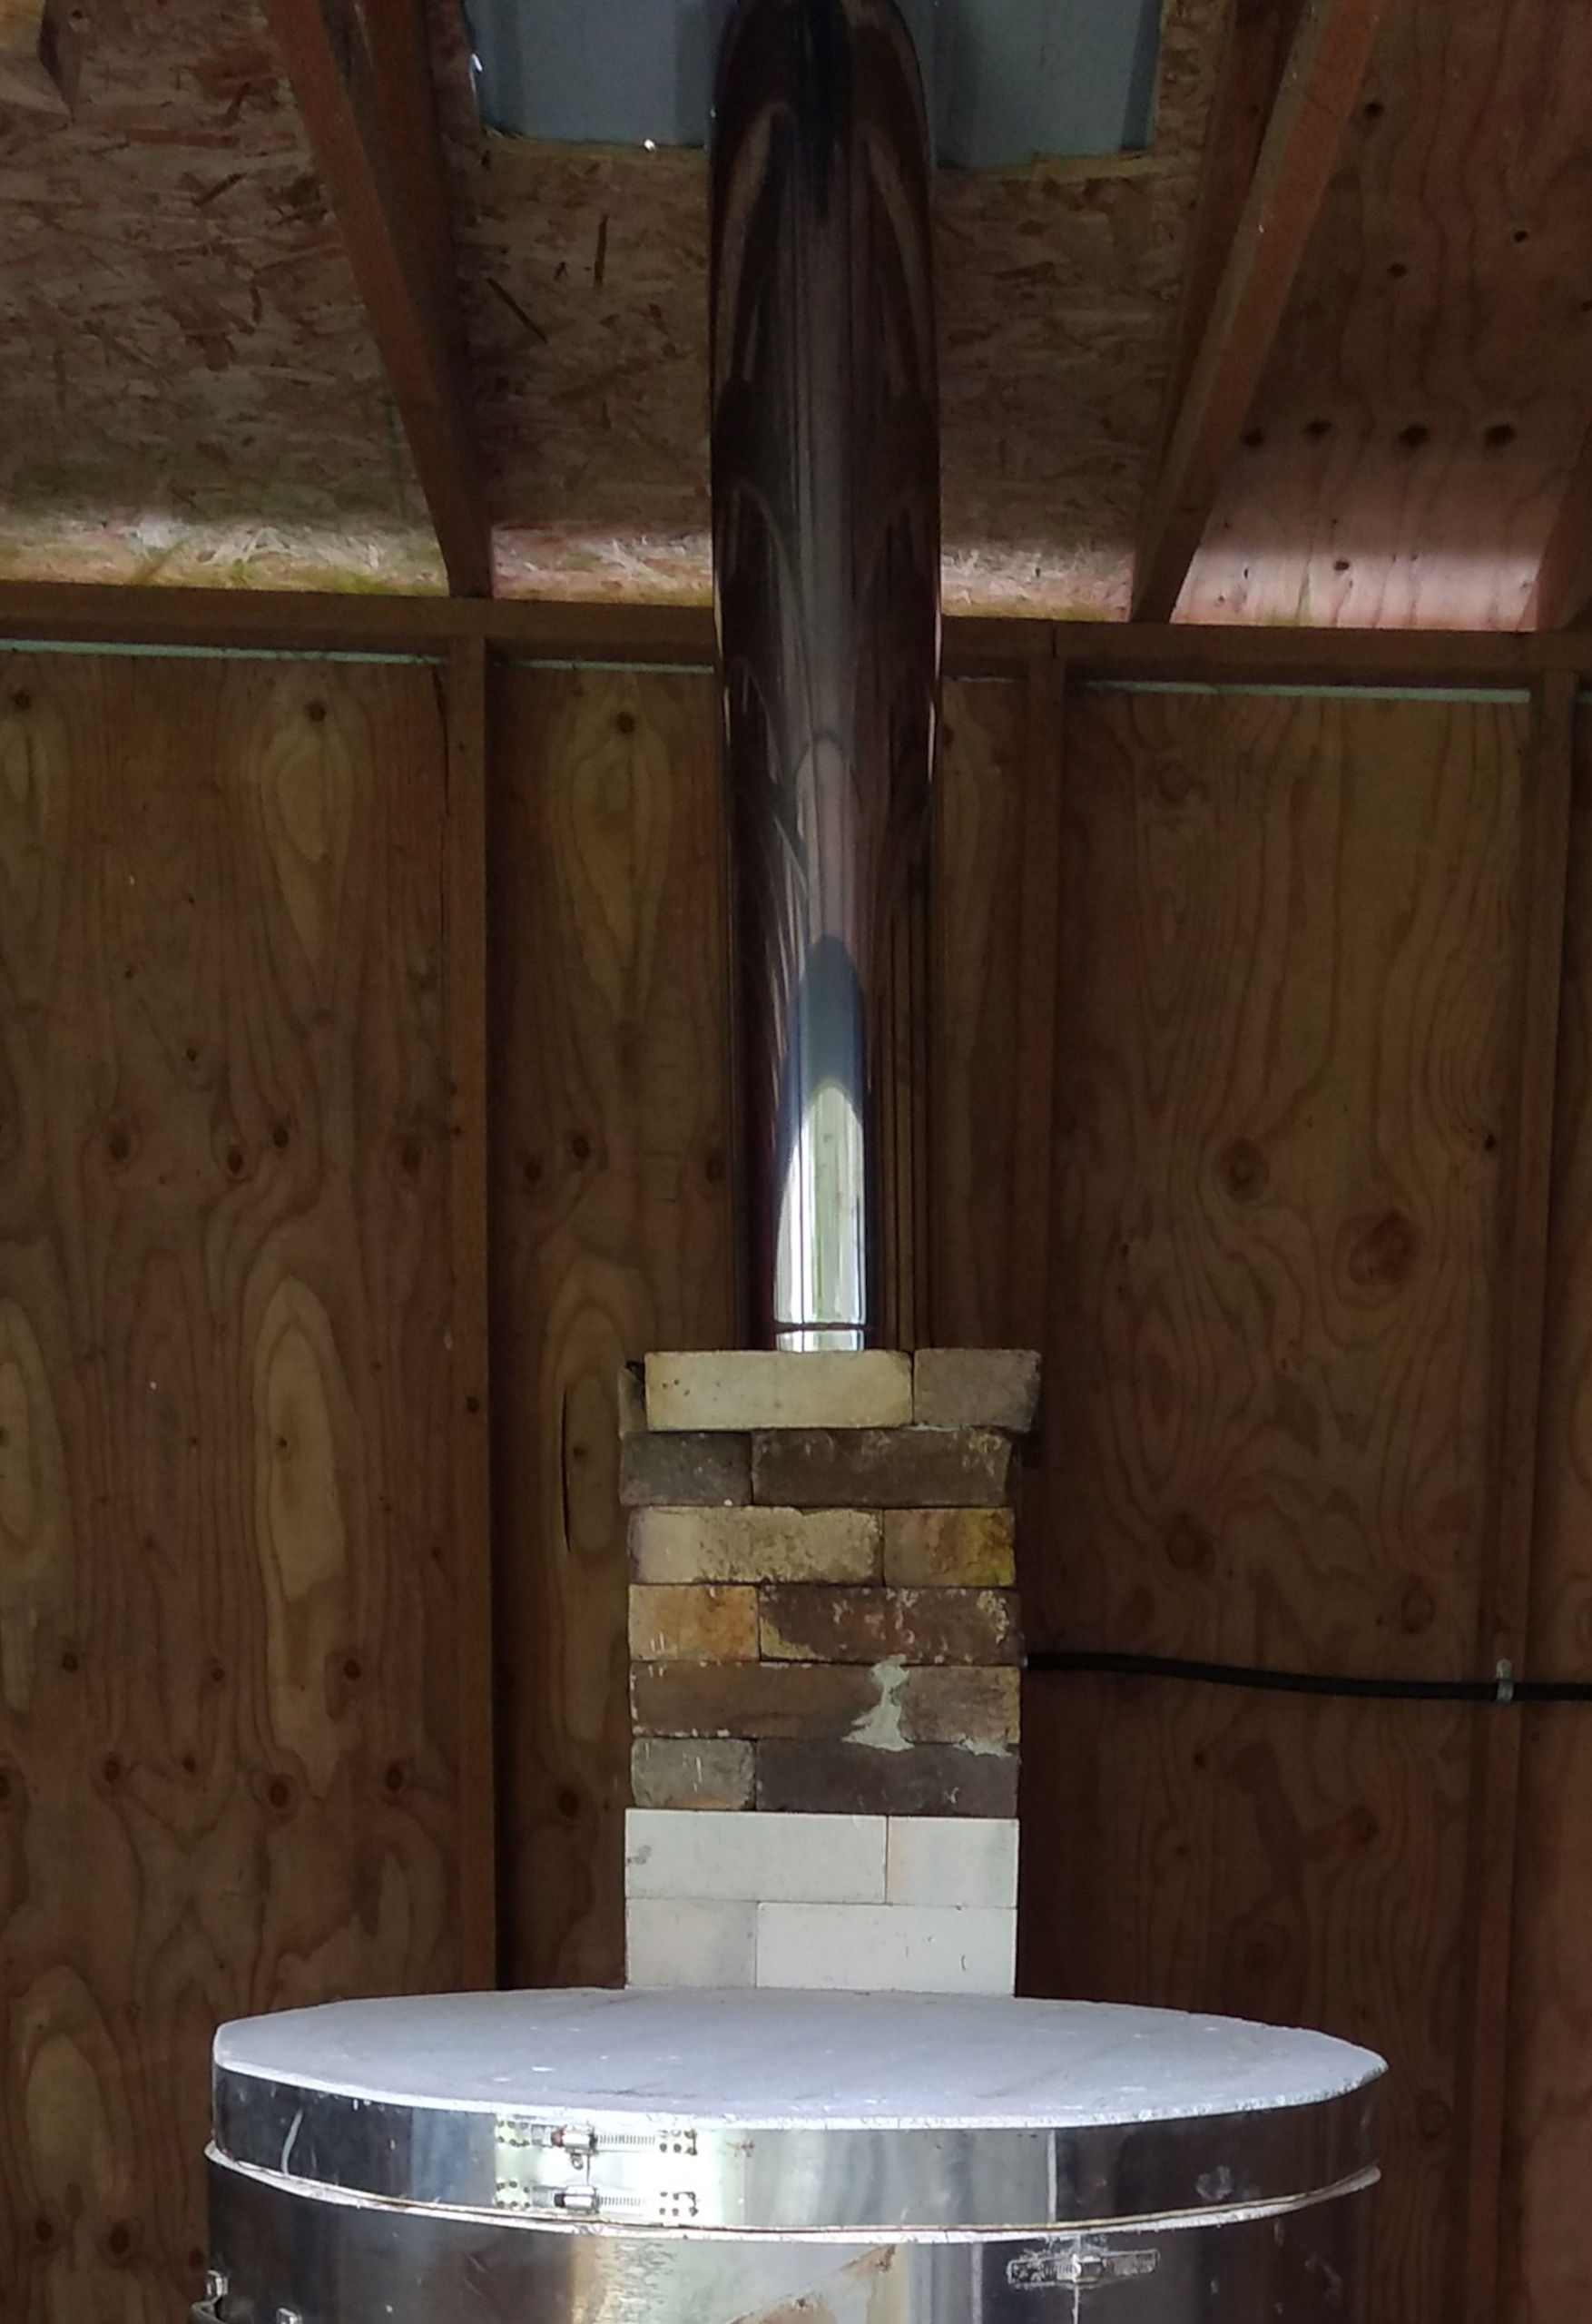
After looking up advice online, I built the chimney to be three times the height of the kiln (which was pretty close to the roof of the shed) and the same area as the sum of the burner ports (each port was a half brick, so the chimney interior is a whole brick). I had enough bricks for 23 courses, and two large lintel slabs. Halfway up, I used the lintel slabs and a slice of kiln shelf to make the damper, then built until I ran out of bricks. To reach the rest of the way to the ceiling, I used double-walled chimney pipe and finished it off with a chimney cap. I was tempted to use the considerably cheaper single walled pipe, but my shed has very closely spaced rafters, and I didn’t want to risk causing a fire.

The Body
A major challenge of firing with soda in a soft brick kiln is that any exposed softbrick will be very quickly eaten away by the atmosphere. I filled up all the heating element ridges with wadding and painted kiln coat over all the soft brick. I renew this process after every firing, as well as chipping thoroughly to prevent debris. After a few firings, I added an inch of kaowool insulation between the kiln body and the metal casing, using the chimney as a spacer to make up the extra diameter. It slowed cooling, and made the kiln more pleasant to be around when it was cone ten. My kiln furniture, high alumina kiln shelves and slices of fire brick, also needs regular maintenance. Over enough firings, soda buildup will bond with the shelf and form a skin that cracks and flakes off. To prevent that, I remove it with an angle grinder and paint them with more kiln coat.
Wadding
- 1 part Alumina Hydrate
- 1 part Edgar Plastic Kaolin
- 1 part Coarse Silica Sand
Kiln Coat
- 2 parts Zircopax
- 2 parts Kyanite
- 2 parts Alumina Hydrate
- 1 part Vee Gum

The Firing
I usually light the kiln early in the morning, and finish around dinner time. I start it low, with small turn ups once an hour for the first few, and then up to moderate heat and neutral atmosphere after 1000°. By hour six, it’s usually up to around 1600°, and as soon as I see movement in cone 010, I put the kiln into body reduction for an hour. I want it stall completely, and cut the oxygen if it gains any heat. After that, I put the burners on full and fire in light reduction until cone 10 is soft. Then I spray in 12 oz of soda ash dissolved in water, and wait for cone 10 to melt completely. The whole kiln gets at least a light dappling of soda, heavier near the ports and the chimney. It’s usually ready to unload by afternoon of the following day!

